
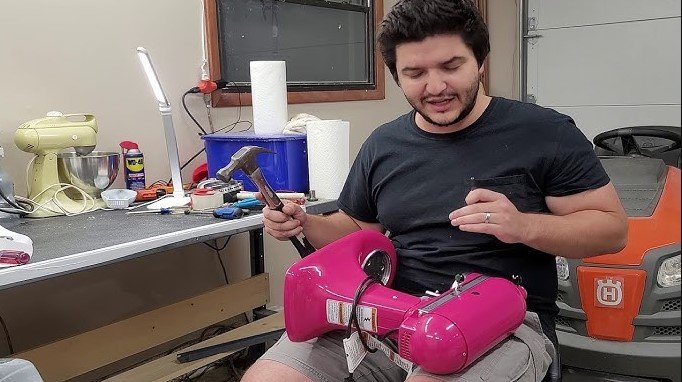
Opening your KitchenAid mixer is a straightforward task if you have the right tools and patience. This guide covers how to safely access the internal gears and motor housing to perform basic maintenance or troubleshoot common issues. Always remember to unplug the machine first to ensure your safety before starting any internal work.
There is nothing quite like the sound of a KitchenAid mixer humming along on your countertop. For many of us, it is the heart of the kitchen, turning out batches of cookies, loaves of sourdough, and mountains of whipped cream. But as we move further into 2026, even the most reliable appliances sometimes show their age. Perhaps your mixer has started making an unusual clicking sound, or maybe it just needs a good internal cleaning to keep it running smoothly for another decade.
Learning how to open KitchenAid mixer housing can feel a bit intimidating at first. After all, these machines are built like tanks. However, with a little bit of guidance, you will find that the internal design is quite logical. Whether you are a seasoned DIY enthusiast or just someone who likes to keep their kitchen gadgets in tip-top shape, this guide will walk you through the process step-by-step. Let’s get your mixer back to its peak performance.
Key Takeaways
- Safety First: Always disconnect the power supply completely before attempting to open the mixer housing to avoid electrical shocks.
- Tool Essentials: You will need a set of flathead and Phillips screwdrivers, along with a punch tool to remove the main pivot pin.
- Document Everything: Take photos of the internal wiring and components as you disassemble the unit to ensure easy reassembly.
- Grease Management: When opening the gearbox, expect to see food-grade grease; have paper towels ready and be prepared to re-grease if necessary.
- Warranty Awareness: Opening your KitchenAid mixer may void the manufacturer’s warranty, so check your status before starting.
Preparation and Safety Measures
Before you even pick up a screwdriver, we need to focus on safety. A KitchenAid mixer is a heavy-duty piece of electrical equipment. Never attempt to service the machine while it is plugged into a wall outlet. Once the power cord is safely tucked away, clear a large, well-lit workspace. You will want a clean, flat surface like a kitchen island or workbench.
Gathering Your Tools
To successfully open your mixer, you should have the following tools on hand: a sturdy flathead screwdriver, a Phillips-head screwdriver, a hammer, and a metal punch tool. You might also want a small container to keep your screws organized so you do not lose them. A roll of paper towels is also essential, as you will likely encounter internal grease that can be quite messy.
Accessing the Gear Housing
The top portion of the mixer, known as the gear housing, is where most maintenance takes place. Most models feature a series of screws located around the top rim or the sides of the mixer head. Using your screwdriver, carefully remove these screws. If you notice a screw is stuck, do not force it. A drop of penetrating oil can work wonders on a stubborn fastener.
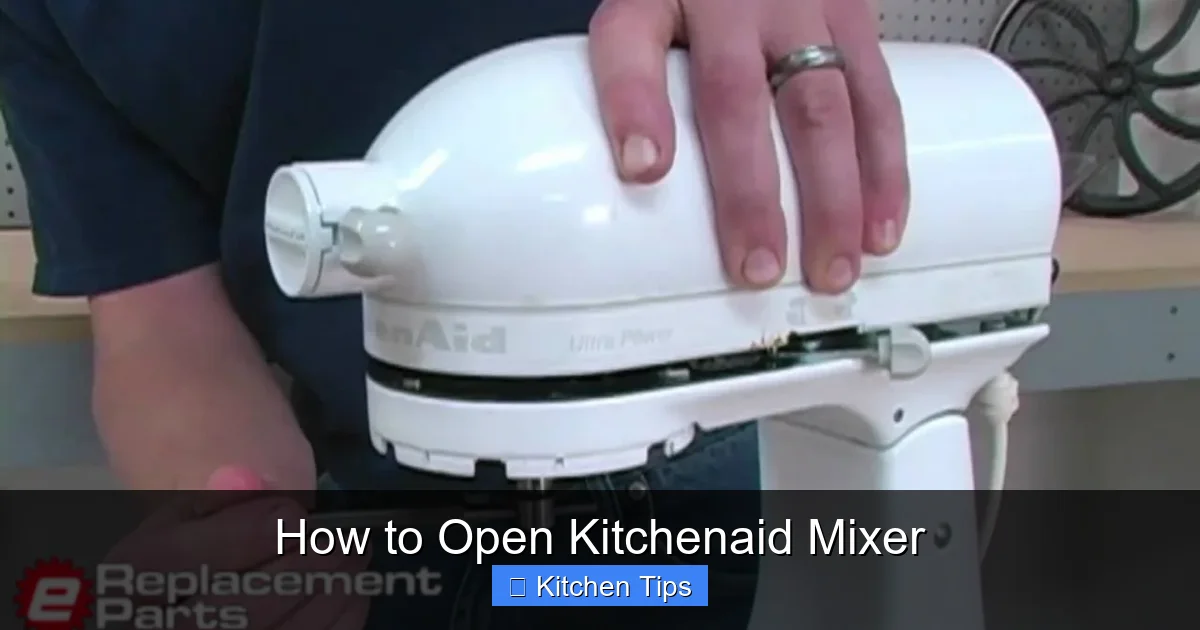
Visual guide about How to Open Kitchenaid Mixer
Image source: i.ytimg.com
Removing the Gear Case Cover
Once the screws are out, the metal cap should lift off. You might need to gently tap it with the handle of your screwdriver if it is stuck due to years of hardened grease. Be careful not to pry too hard, as you do not want to damage the metal finish. Once the cover is off, you will see the planetary gears and the motor shaft. Take a moment to snap a photo with your phone. This reference image will be your best friend when you are ready to put everything back together.
Managing the Internal Components
Inside, you will see a generous amount of white, food-grade grease. This is perfectly normal. Do not be alarmed if the gears look a bit messy. The purpose of this grease is to keep the gears moving smoothly and quietly. If the grease looks dark or gritty, it might be time to clean it out and replace it with fresh, food-grade mixer grease.
Inspecting the Gears
While the machine is open, inspect the plastic or metal gears for any signs of stripping or cracks. If you hear a grinding noise when the mixer runs, this is usually where the problem lies. You can manually rotate the gears to see if there are any broken teeth. If you find damage, you can easily source replacement parts online, which are often affordable and easy to install yourself.
Dealing with the Pivot Pin
If you need to access the motor itself or the main spring, you may need to remove the pivot pin that connects the head of the mixer to the base. This is often the trickiest part of the process. You will need your hammer and a punch tool to gently tap the pin out from one side. Be patient and use controlled, light taps. You do not want to damage the paint or the casting of the mixer body.
Releasing the Spring
Once the pivot pin is removed, the mixer head will separate from the pedestal. Be careful here, as there is a heavy-duty tension spring inside that helps the head lock into place. Note exactly how it is positioned before you remove it, as it can be somewhat difficult to seat correctly during reassembly.
Reassembly and Testing
When you have finished your cleaning or repairs, it is time to put everything back together. Reassembly is almost always the reverse of the disassembly process. Start by replacing the internal components, then secure the gear housing cover. Make sure all your screws are tightened firmly, but avoid overtightening, as the metal housing can be brittle if too much force is applied.
A Final Check
Before you add any flour or liquids, plug the mixer in and test it on the lowest speed. Listen for any strange sounds. If the machine runs quietly and the attachment rotates smoothly, you have successfully completed the job! Keep the mixer on the counter and run it for a minute to ensure the grease settles in properly.
Troubleshooting Common Issues
Sometimes, opening the mixer reveals that the issue is simpler than you thought. A common problem is just a loose wire or a bit of dust buildup on the motor brushes. You can often clean the brushes with compressed air or replace them if they are worn down. Always check these simple electrical connections before assuming you have a major mechanical failure.
When to Call a Professional
If you find that the motor smells like ozone or if there is severe structural damage to the housing, it might be time to take the unit to a professional service center. While learning how to open KitchenAid mixer housing is a great skill, some electrical motor repairs require specialized equipment that the average home kitchen does not have.
Maintaining your appliance is a great way to ensure it lasts for years to come. By taking the time to open and clean your mixer, you are investing in many more years of baking success. Keep your tools handy, stay organized, and enjoy the process of keeping your favorite kitchen tool in perfect working order.
Frequently Asked Questions
Is it difficult to open a KitchenAid mixer?
Opening the mixer is not overly difficult if you have the right tools, but it does require patience. Following a structured guide will help ensure you do not lose any small parts or damage the outer casing.
Will opening my mixer void the warranty?
In most cases, opening the casing and performing unauthorized repairs will void your manufacturer’s warranty. Always check your warranty status and expiration date before attempting any DIY internal repairs.
What type of grease should I use inside the mixer?
You must use specific food-grade, high-temperature grease designed for kitchen appliances. Never use standard automotive or industrial grease, as it is not safe for food contact.
How often should I open the mixer for cleaning?
Unless you notice performance issues or strange noises, there is no need to open the mixer frequently. Performing a deep internal clean once every 5 to 10 years is usually sufficient for home use.
What should I do if a screw is stripped?
If a screw is stripped, try using a rubber band between the screwdriver and the screw head to improve grip. If that fails, a screw extractor tool may be necessary to remove it without damaging the surrounding metal.
Can I replace the gears myself?
Yes, replacing the internal gears is a common DIY project for KitchenAid owners. Replacement gear kits are widely available online and usually come with detailed instructions specific to your mixer model.