
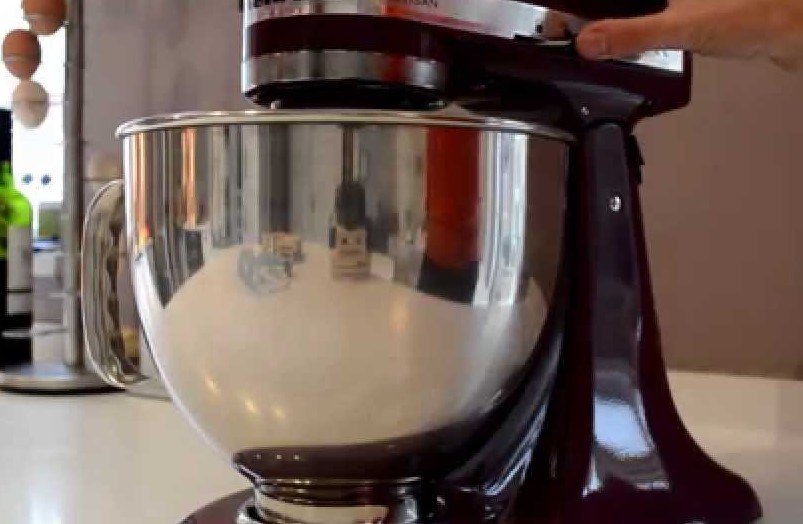
Mastering your kitchen workspace starts with understanding your tools. In this guide, we show you how to turn on KitchenAid mixer units safely, ensuring your baking projects run smoothly and efficiently every time you step into the kitchen.
Walking into a kitchen equipped with a stand mixer feels like stepping into a professional bakery. Whether you just received your first machine as a gift or you are dusting off a family heirloom, learning how to turn on KitchenAid mixer models is the first step toward creating culinary magic. These machines are famous for their power and durability, but they require a little bit of respect and know-how to get the best results.
In 2026, home baking continues to be a favorite hobby. Having the right technique ensures your mixer lasts for decades. While the process might seem obvious, many beginners run into trouble by rushing the setup. Let’s walk through the steps together to make sure you are confident, safe, and ready to bake your next batch of cookies or bread.
Key Takeaways
- Safety First: Always ensure the speed control lever is set to “0” or “Off” before plugging the mixer into a power outlet.
- Bowl Alignment: Confirm the bowl and attachment are locked securely into place to prevent wobbling during operation.
- Start Low: Always begin mixing at the lowest speed to avoid splattering ingredients outside of the bowl.
- Head Security: For tilt-head models, ensure the head is fully locked down before turning the power on.
- Consistent Cleaning: Unplug the unit before removing attachments or cleaning the bowl to maintain kitchen safety.
- Gradual Speed: Increase your mixing speed incrementally rather than jumping to high settings immediately.
Understanding Your Mixer Interface
Before you flip any switches, it is important to know what you are looking at. Almost every model, from the classic Artisan to the heavy-duty Pro series, features a simple control layout. You will usually find the speed control lever on the side of the motor head. This lever allows you to select speeds ranging from “Stir” to “10.”
The Speed Control Lever
The speed control lever is the heart of the machine. When you learn how to turn on KitchenAid mixer units, you learn that this lever does more than just move—it clicks into specific gear settings. Always move the lever smoothly. Avoid forcing it if you feel resistance, as this usually means the motor needs to be engaged in a specific way.
Power and Plug Safety
Never underestimate the importance of the power cord. In 2026, modern kitchen safety standards emphasize the “Off-Plug” rule. Always make sure the speed lever is set to the “0” or “Off” position before the plug touches the outlet. This prevents the mixer from starting unexpectedly if it was left in an active position after the last use.
Setting Up the Bowl and Attachments
You cannot effectively turn on KitchenAid mixer functions if your base components are loose. The mixer relies on a stable connection between the bowl and the stand to manage the torque generated by the motor. If these parts are not secure, the machine will rattle, move, or even pose a safety risk during high-speed tasks.
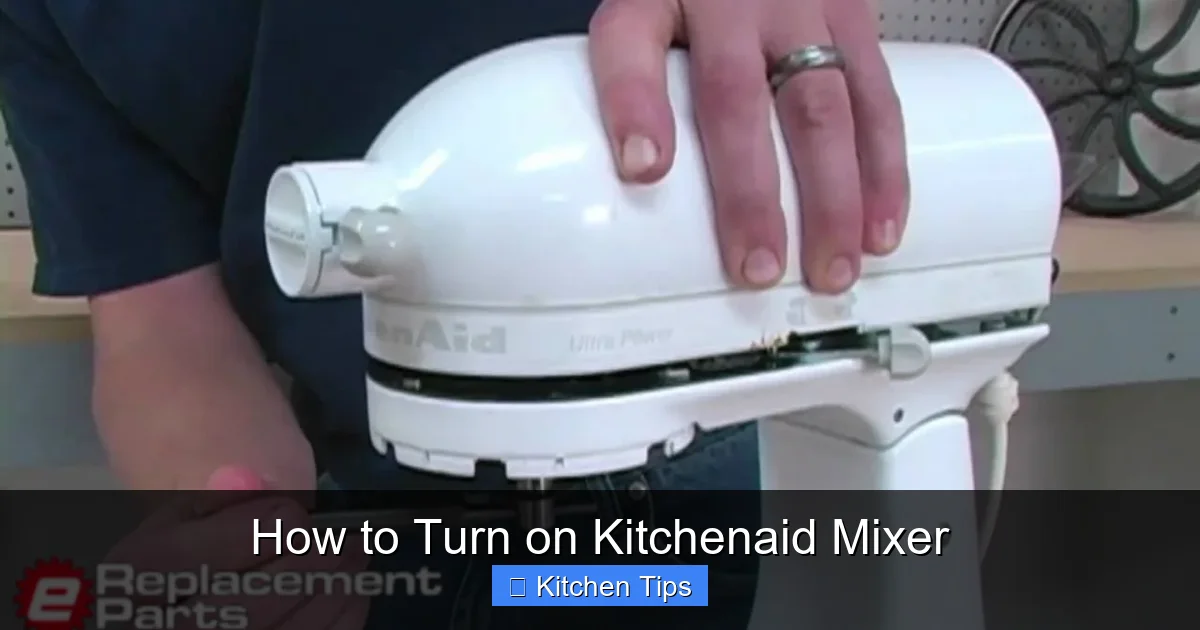
Visual guide about How to Turn on Kitchenaid Mixer
Image source: i.ytimg.com
Locking the Bowl in Place
For tilt-head models, you will place the bowl on the base and twist it until it clicks into the locking plate. If you have a bowl-lift model, you need to slide the bowl onto the support arms and push the lift handle up until it clicks. A loose bowl is the most common reason for uneven mixing or spilled ingredients.
Attaching the Beater
The attachment—whether it is a paddle, dough hook, or wire whip—should slide onto the planetary shaft. Press it upward and turn it counterclockwise to lock it into the pin. Once it is secure, give it a tiny tug to make sure it doesn’t drop during operation. Now that your bowl and attachment are ready, you are halfway toward knowing how to turn on KitchenAid mixer systems successfully.
The Step-by-Step Activation Process
Now, let’s get down to the actual activation. The key to long-term success is a “Slow Start” approach. Even if your recipe calls for high speed later, you must always start at the lowest setting.
Starting the Motor
Once your ingredients are in the bowl, lower the head (or raise the bowl) and ensure everything is secure. Place your hand near the speed lever. Gently move the lever from “0” to the first speed notch, often marked as “Stir.” You will hear the hum of the motor start instantly. This gentle start prevents flour, sugar, or liquids from flying out of the bowl and creating a kitchen disaster.
Increasing the Speed
After your ingredients have incorporated, you can slowly move the lever to higher speeds. If you are whipping cream or eggs, moving from “Stir” to “4” or “6” is usually sufficient. By gradually increasing the speed, you allow the gears to shift properly and prevent unnecessary wear on the motor. Learning how to turn on KitchenAid mixer settings this way keeps your machine running smoothly for years.
Common Mistakes to Avoid
Even experienced bakers make mistakes. The most frequent error is turning the machine on while the mixer head is still in the tilted position. Most modern models have a safety lock, but you should never rely on that alone. Always verify that the head is fully seated and locked before moving the lever.
Forcing the Speed Lever
If the lever feels stuck, do not force it. Sometimes, the internal gears need a tiny nudge. Simply move the beater slightly by hand to align the gears, and the lever will slide into place effortlessly. Forcing the lever can damage the internal spring mechanism, which is a common repair issue in 2026.
Overloading the Mixer
One of the biggest mistakes is adding too much dough at once. While these mixers are powerful, they have a capacity limit. If you turn on the machine and it sounds like it is struggling or straining, stop immediately. Clear out some of the ingredients. Knowing how to turn on KitchenAid mixer units involves listening to the motor—it should sound consistent and steady, not whiny or labored.
Maintenance and Troubleshooting Tips
If you have followed the steps above and the mixer still won’t start, perform a quick check. First, verify the power outlet. Check your kitchen’s circuit breaker to ensure the outlet has power. Sometimes, a simple tripped GFCI switch is the only thing standing between you and your baking session.
Routine Safety Checks
Periodically inspect the cord for any fraying. In 2026, we encourage users to keep their mixers dry and away from high-moisture areas. When you are finished with your baking, always return the speed lever to “0” before unplugging the machine. This “Zero-State” habit is the hallmark of a professional-level home cook.
Keeping it Clean
Bits of dried dough or sugar can get lodged near the speed control lever. Use a damp cloth to wipe down the exterior, but never submerge the base in water. Keeping the control area clean ensures the lever moves freely, which helps you maintain control when you turn the mixer on.
Conclusion: Confident Baking Starts Here
Learning how to turn on KitchenAid mixer units is more than just flipping a switch; it is about building a relationship with your kitchen tools. By following these steps ensuring the speed is at zero, confirming the attachments are locked, and starting slowly you are setting yourself up for success. Whether you are whipping up a simple cake batter or kneading heavy bread dough, you now have the knowledge to operate your mixer with confidence.
Remember, the goal of baking is to enjoy the process as much as the result. With these tips, your mixer will remain a reliable companion in your kitchen for many years to come. So, go ahead, plug it in, set it to “Stir,” and enjoy the wonderful world of home baking in 2026 and beyond!
Frequently Asked Questions
Can I turn on my KitchenAid mixer with the head tilted up?
No, you should never turn on the mixer while the head is tilted. Always ensure the head is fully locked in the downward position to prevent damage to the mechanism and potential injury.
What should I do if the mixer won’t start?
First, check if the unit is plugged into a live outlet and that your circuit breaker hasn’t tripped. Ensure the speed lever is returned to the “0” position, as the mixer may not engage if the lever was left in a speed setting.
Is it okay to start on a high speed?
It is best to always start on the lowest speed setting to prevent your ingredients from splattering out of the bowl. Gradually increase the speed once the ingredients begin to incorporate.
How do I know if my attachment is properly locked?
The attachment should fit onto the shaft, push upward, and turn counterclockwise until it clicks or rests firmly against the pin. If it wobbles, it is not locked in correctly.
What is the “Stir” speed used for?
The “Stir” speed is designed for slowly adding ingredients at the beginning of a recipe. It helps to keep flour and other dry items inside the bowl rather than dusting your entire kitchen counter.
Do I need to unplug the mixer after every use?
While not strictly mandatory, it is a recommended safety practice in 2026. Unplugging the unit ensures that the mixer cannot be turned on accidentally by children or pets while you are not nearby.