
Mastering the Kitchenaid shredder attachment saves you significant time and effort in the kitchen. By following our simple setup and safety steps, you can transform blocks of cheese, fresh vegetables, and nuts into perfectly uniform pieces in seconds.
If you have been eyeing that box sitting on your shelf, it is time to put it to work. Learning how to use Kitchenaid shredder attachment is one of the best upgrades you can make for your culinary routine. Whether you are a professional chef or someone who just wants to make a quick Tuesday night salad, this tool turns your stand mixer into a powerhouse. It effectively removes the manual labor from grating, slicing, and shredding.
In 2026, home cooking is all about efficiency. We want fresh ingredients without spending an hour at the cutting board. The shredder attachment, often known as the Fresh Prep Slicer/Shredder, is the secret weapon to achieving restaurant-quality results at home. It is fast, consistent, and surprisingly fun to use once you understand the rhythm of the machine.
Key Takeaways
- Preparation is Essential: Always chill your cheese or wash your produce thoroughly before attaching the shredder to ensure clean, consistent cuts.
- The Power of Speed: Use the recommended speed settings (usually 4-6) to maintain control and prevent your ingredients from turning into mush.
- Safety First: Never use your fingers to push food through the chute; always rely on the plastic food pusher included with the kit.
- Easy Cleaning: Most modern attachments are top-rack dishwasher safe, but hand-washing preserves the sharpness of the blades longer.
- Versatility Matters: Swap between the fine, medium, and coarse drums to customize the texture of everything from coleslaw to pizza toppings.
Understanding Your Shredder Attachment
Before you start, it helps to know exactly what you are working with. The unit is made up of the main housing, the food pusher, and the interchangeable blades (or drums). These blades are the heart of the system. Most sets come with a coarse shredding blade, a medium shredding blade, and a slicing blade.
The Components
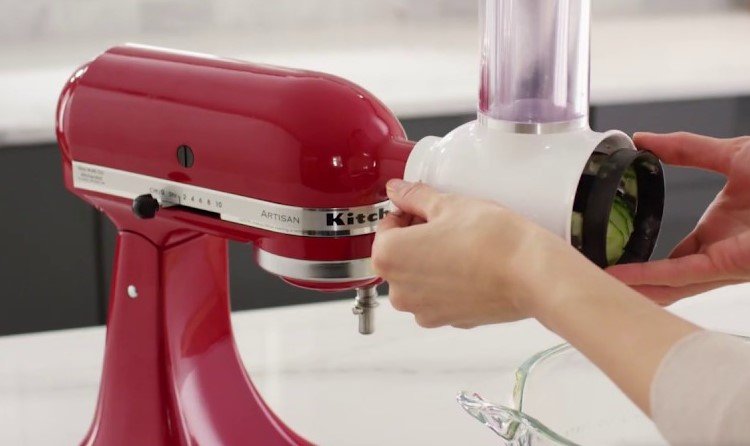
The housing attaches directly to the power hub on the front of your KitchenAid mixer. This is the circular piece under the metal cap. By locking the housing into this port, you gain access to the motor’s incredible torque. You should always ensure the attachment is seated firmly before plugging in or turning on the mixer.
Why Drum Selection Matters
Selecting the right blade is the most important part of the process. The coarse shredding drum is ideal for potatoes or thicker cheeses. The medium drum is your go-to for standard cheddar or mozzarella. The slicing blade is perfect for cucumbers, radishes, or even firm fruits like apples. Using the wrong blade can lead to uneven chunks rather than clean, crisp slices.
Setting Up the Mixer for Success
Learning how to use Kitchenaid shredder attachment starts with proper installation. Start by removing the attachment hub cover on your mixer. Insert the shredder housing into the hub. You will hear a slight click when it locks into place. Tighten the knob to secure it, but do not overtighten it, as that can stress the plastic housing.
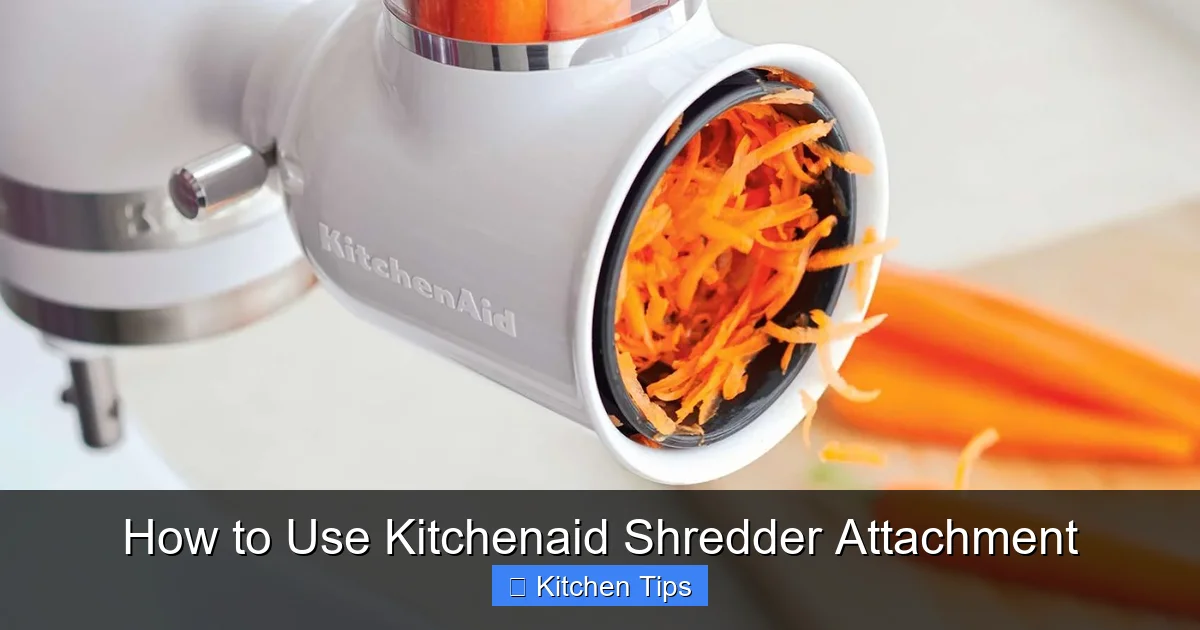
Visual guide about How to Use Kitchenaid Shredder Attachment
Image source: i.pinimg.com
Preparing Your Ingredients
Success starts before the machine even turns on. For cheese, keep it in the refrigerator until the very last second. Room-temperature cheese will smudge and clog the blade. If you are shredding vegetables, cut them into pieces that fit easily into the feed tube. For carrots, trim the ends. For block cheese, cut it into rectangles that slide down the chute without getting stuck.
Selecting the Speed
Speed is everything. KitchenAid mixers are powerful, and if you run the shredder at the highest setting, you might just launch your vegetables across the room. We recommend starting at speed 4. This offers the best balance of speed and control. If you feel confident, you can move up to speed 6, but going faster usually creates a mess rather than a better result.
Step-by-Step Shredding Technique
Once you are set up, the actual process is quite simple. Place a bowl under the discharge end of the attachment. This is where your grated items will exit, so make sure the bowl is wide enough to catch everything. Turn the mixer to speed 4, and drop your ingredient into the tube.
Using the Pusher Correctly
This is where many people make mistakes. When you use the food pusher, apply steady, firm pressure. Do not force it or slam it down. You want to let the blade do the work. If you push too hard, you risk breaking the plastic drum or causing the motor to work harder than necessary. Use a gentle, guiding touch to keep the food moving at a steady pace.
Managing Clutter and Waste
As you shred, you may notice small bits of food left around the edges of the blade. This is perfectly normal. Simply stop the mixer, clear the excess with a wooden spatula—never your fingers—and continue. Once you get the hang of it, you will find that you can process several pounds of ingredients in just a few minutes.
Advanced Tips for Perfect Results
If you want to move from amateur to pro, consider these hacks for your shredder. If you are grating soft cheese like mozzarella, you can actually coat the block in a tiny bit of flour or cornstarch. This prevents the cheese from clumping together in the bowl. It makes your pizza toppings look like they came from a high-end deli.
Handling Different Textures
Not all ingredients behave the same way. Hard vegetables like raw beets or sweet potatoes can be tough. For these, smaller chunks are better. Softer items, like mushrooms or zucchini, can be shredded in larger pieces. If you notice the attachment is vibrating, turn off the mixer and check if the food is jammed. A quick release is usually all it takes to get back on track.
Consistent Slicing
When using the slicing drum, the orientation of the food matters. If you place a cucumber into the chute vertically, you get long, thin slices. If you place it at an angle, you get oval, decorative slices. Playing with the angle of your ingredients allows you to create different visual styles for your salads and garnishes.
Care, Maintenance, and Storage
To keep your attachment lasting for years, proper cleaning is non-negotiable. While most parts are dishwasher safe, we highly recommend hand-washing the blades. Dishwasher detergents can be harsh and abrasive, which will dull your blades over time. Use warm, soapy water and a bottle brush to reach into the crevices of the drums.
Drying and Storage
Always dry your blades thoroughly before storing them. Moisture is the enemy of sharp metal. If you have a small kitchen, these attachments are relatively compact, but storing them in their original box or a dedicated drawer organizer will prevent the blades from getting scratched against other utensils.
When to Replace Parts
If you notice the attachment struggling to cut through items that it previously handled with ease, check the blades. If they feel dull to the touch, it is time to order a replacement set. Keeping your shredder in peak condition ensures that you continue to enjoy the convenience it brings to your meal prep routine.
Conclusion
Now that you know how to use Kitchenaid shredder attachment, you are ready to reclaim your time. It is a fantastic tool that bridges the gap between manual prep and store-bought processed foods. By shredding your own cheese and slicing your own produce, you control exactly what goes into your meals. Enjoy the fresh flavors, the beautiful presentation, and the satisfaction of a well-prepped kitchen. Your stand mixer is capable of so much more than just baking, and this attachment is the perfect starting point for your culinary evolution.
Frequently Asked Questions
Is the KitchenAid shredder attachment dishwasher safe?
Most parts are top-rack dishwasher safe, but hand-washing is highly recommended. Using the dishwasher frequently can dull the blades and affect the finish of the plastic components over time.
Which speed setting should I use for shredding?
We recommend using speed 4 or 5 for the best results. These settings provide enough power to shred quickly while allowing you to maintain control over the food being processed.
Can I shred soft cheese with this attachment?
Yes, but it is best to keep the cheese in the freezer for about 15 minutes before shredding. This firms it up, which helps it feed through the chute without turning into a mushy mess.
What should I do if the food gets stuck in the feed tube?
Always turn the mixer off first. Use a wooden or plastic tool to clear the jam; never reach inside with your fingers or a metal knife while the mixer is plugged in.
Can this attachment handle nuts or hard vegetables?
Yes, the coarse shredding drum is excellent for hard vegetables like carrots or potatoes. However, be cautious with very hard nuts, as they may be better suited for a dedicated food processor.
Do I need to sharpen the blades?
The blades are designed to stay sharp for a long time with proper care. If you notice they are becoming dull, it is usually best to replace the specific drum rather than attempting to sharpen it yourself.