
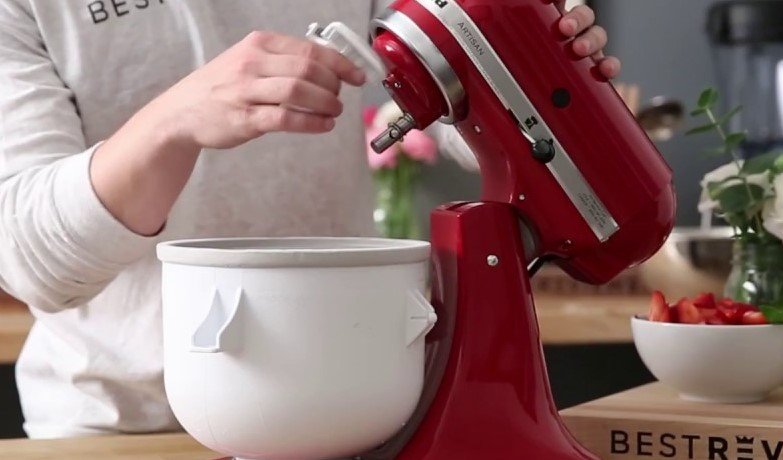
Making homemade ice cream is easier than ever with a KitchenAid ice cream maker attachment. This simple guide helps you master the process, from freezing the bowl to churning the perfect creamy base for delicious, professional-quality desserts.
There is truly nothing quite like a scoop of homemade ice cream on a hot afternoon. In 2026, home cooks are rediscovering the joy of crafting their own frozen desserts. While fancy gadgets exist, you likely already have the perfect tool sitting on your counter: your KitchenAid stand mixer. Learning how to make ice cream with KitchenAid attachment is a game-changer for your dessert repertoire.
Whether you crave classic vanilla bean, rich dark chocolate, or experimental fruit sorbets, this attachment takes the hard work out of the process. It does the churning for you, resulting in a smooth, professional texture that rivals your favorite local scoop shop. Let’s dive into how you can turn your stand mixer into the ultimate ice cream station.
Key Takeaways
- Freeze the Bowl Early: The most important step is freezing your bowl for at least 24 hours to ensure the ice cream sets properly.
- Chill Your Base: Always cool your ice cream custard or mixture in the refrigerator before adding it to the KitchenAid attachment.
- Don’t Over-mix: Churning for too long can change the texture of your ice cream; stop as soon as it reaches a soft-serve consistency.
- Clean Immediately: Hand-wash the bowl as soon as you finish serving to prevent damage from extreme temperature changes.
- Add Mix-ins Last: Stir in chips, nuts, or swirls during the final minute of churning to keep them evenly distributed without damaging your paddle.
Understanding the KitchenAid Ice Cream Attachment
Before you start pouring cream, it helps to understand what the attachment actually does. The KitchenAid ice cream attachment consists of a drive assembly, a dasher, and a specialized freezer bowl. The bowl contains a liquid coolant between its walls that must be completely frozen to turn your liquid base into solid ice cream.
The Role of the Freezer Bowl
The freezer bowl is the engine of the operation. If this bowl is not frozen solid, your ice cream will simply stay a cold liquid soup. In 2026, we recommend checking your freezer temperature. It should be set to zero degrees Fahrenheit or lower. If you plan to make ice cream frequently, consider leaving the bowl in the back of the freezer permanently so it is always ready for a spontaneous dessert craving.
The Dasher and Drive Assembly
The dasher is the paddle that rotates inside the bowl. Its design is brilliant because it scrapes the sides of the bowl constantly. This prevents large ice crystals from forming, which is the secret to getting that smooth, velvety mouthfeel. Without this consistent scraping, your dessert would turn into an icy block rather than creamy ice cream.
Preparing Your Ice Cream Base
When you learn how to make ice cream with KitchenAid attachment, the quality of your ingredients matters. You want a base that is rich, cold, and well-mixed. Most recipes start with a custard base made from heavy cream, whole milk, sugar, and egg yolks, but you can also make “Philadelphia-style” ice cream without eggs for a lighter finish.
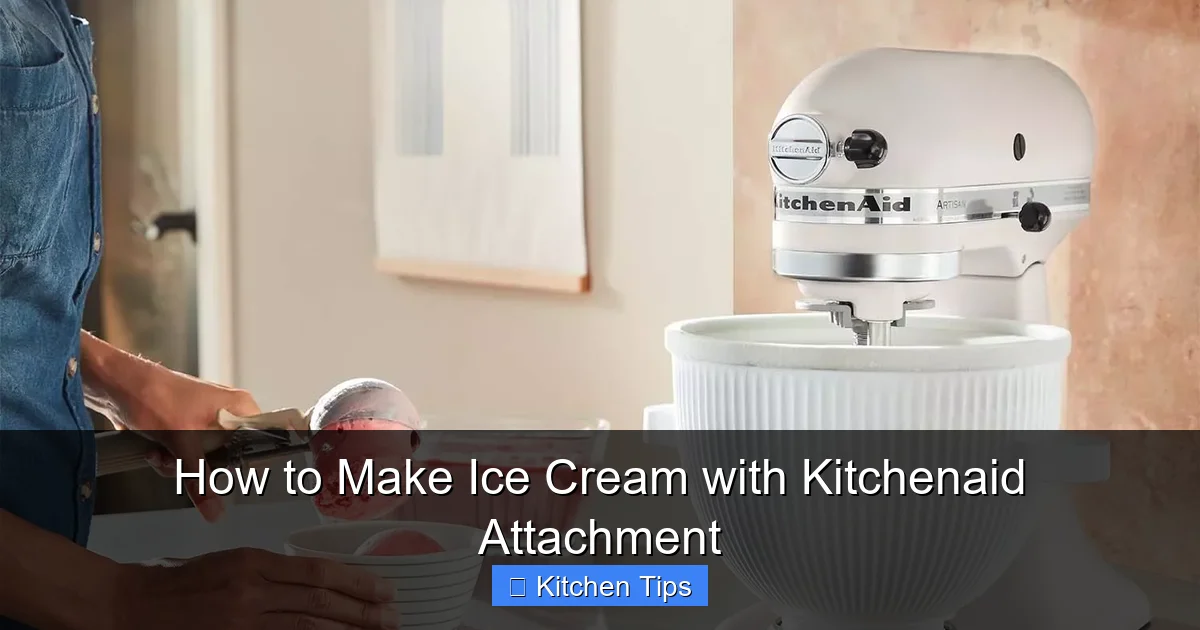
Visual guide about How to Make Ice Cream with Kitchenaid Attachment
Image source: assets.surlatable.com
Chilling is Not Optional
You must chill your mixture before churning. If you pour a warm base into your frozen bowl, the heat will instantly melt the bowl’s coolant, and the ice cream will not set. Aim for your base to be at least 40 degrees Fahrenheit. If you have time, let it sit in the fridge for four to six hours, or even overnight. This also helps the flavors bloom and develop.
Incorporating Flavors
This is the fun part. You can add extracts like vanilla or peppermint to your base before chilling. If you are using fruit, puree it and stir it in. Just remember: if your base is too thin or too warm, the attachment will struggle to turn it into a solid dessert. Keep things thick and cold for the best results.
Step-by-Step Churning Process
Once your bowl is frozen and your base is chilled, it is time to assemble your machine. The process of how to make ice cream with KitchenAid attachment is very straightforward if you follow the order of operations carefully. The most common mistake people make is not starting the motor before pouring in the base.
Assembling the Machine
Start by placing the frozen bowl onto the stand mixer base. Insert the dasher and then attach the drive assembly to the mixer head. Lock the mixer head down, and ensure everything is secure. You want to make sure the dasher is engaged properly so it spins freely without hitting the sides of the bowl.
Starting the Churn
Turn your mixer to the lowest speed setting. It is critical that the dasher is already moving when you add your base. If you pour the base in first, it will freeze to the sides of the bowl immediately, potentially stopping the paddle and causing the drive mechanism to struggle. Pour the base in a steady stream, and let it churn for 15 to 20 minutes.
Adding Your Favorite Mix-ins
Part of the excitement of making your own frozen treats is customizing them. Whether you love chocolate chunks, crushed cookies, or ribbons of caramel, adding these elements correctly ensures they don’t sink to the bottom or clump up.
When to Add Items
Wait until your ice cream reaches a soft-serve consistency before adding solid mix-ins. This usually happens around the 15-minute mark. If you add cookies or nuts too early, the churning process will grind them into tiny, unnoticeable pieces. Adding them at the end ensures large, satisfying bites.
Mixing Tips
Use a silicone spatula to fold in your mix-ins if you prefer, or let the mixer handle it on the lowest speed for just a few seconds. If you want a ripple effect, like fudge or fruit jam, stop the mixer and drizzle the sauce in layers as you transfer the ice cream to a storage container. This creates beautiful, distinct swirls rather than just blending the flavor into the whole batch.
Storing and Serving Your Creation
Once the cycle is done, your ice cream will look like soft serve. This is perfectly delicious, but if you prefer a firmer, scoopable texture, you will need to finish it in the freezer. Knowing how to make ice cream with KitchenAid attachment also includes knowing how to store it correctly.
The Hardening Process
Transfer your ice cream to an airtight container. A shallow container works best because it allows the dessert to freeze evenly and quickly. Press a piece of parchment paper directly onto the surface of the ice cream to prevent ice crystals from forming on top. Place it in the freezer for at least two to four hours before serving.
Serving Tips
Homemade ice cream lacks the stabilizers found in store-bought versions, so it will melt faster. Keep it in the freezer until the very last second. Use a high-quality ice cream scoop dipped in warm water to make serving easy and elegant. Your friends will be incredibly impressed that such a professional dessert came from your own stand mixer.
Common Challenges and Solutions
Even if you follow the guide on how to make ice cream with KitchenAid attachment to the letter, you might run into minor issues. Don’t worry; most of these have simple fixes. Being prepared will make your future sessions much more successful.
My Ice Cream Is Still Liquid
If your ice cream doesn’t firm up, it is almost always because the bowl wasn’t cold enough. Remember that the bowl needs to be in a very cold part of your freezer for at least 24 hours. Sometimes, if the kitchen is very hot, the bowl loses its chill faster. Try to keep your kitchen cool during the process.
The Attachment Is Making Noise
A little noise is normal, but clicking or grinding sounds might mean the base is too thick or the dasher isn’t seated correctly. Check that the bowl is locked into the mixer correctly. If the base was stored in a super-cold part of the fridge and is almost frozen before you start, give it a few minutes to soften just slightly so the motor doesn’t work too hard.
Mastering this skill is a fun project for any home cook. With a little practice, you can invent your own unique flavors and impress everyone you know. Grab your KitchenAid, clear some space in the freezer, and enjoy the endless possibilities of homemade dessert today.
Frequently Asked Questions
How long does the freezer bowl need to be frozen?
The bowl must be frozen for at least 24 hours before use. We recommend keeping it in the back of your freezer at all times so it is always ready to go.
Can I make dairy-free ice cream with this attachment?
Yes, you can easily make vegan or dairy-free ice cream using coconut milk, oat milk, or almond milk bases. The process remains exactly the same as traditional dairy recipes.
Why does my ice cream stay like liquid after churning?
This usually happens if your freezer isn’t cold enough or if the base was too warm when added. Ensure your freezer is set to zero degrees Fahrenheit and that your base is thoroughly chilled in the fridge first.
How do I clean the ice cream attachment?
Hand-wash the freezer bowl and dasher with warm, soapy water. Never put the freezer bowl in the dishwasher, as the high heat can damage the cooling liquid inside.
Can I double the recipe?
No, you should stick to the capacity limits specified by your attachment manual. Overfilling the bowl will prevent proper aeration and result in a poor texture.
How long will homemade ice cream last in the freezer?
Homemade ice cream tastes best within one to two weeks. Because it lacks commercial stabilizers, it is best enjoyed fresh, but it will keep for a month if stored in an airtight container.