

Learning how to make ice cream using KitchenAid is easier than you think, transforming your favorite stand mixer into a frozen dessert powerhouse. With the dedicated ice cream maker attachment, you can churn out rich, creamy batches of homemade ice cream in less than thirty minutes. This ultimate guide covers everything from bowl preparation to flavor customization, ensuring delicious results every single time.
There is something magical about the moment fresh, homemade ice cream comes out of the machine. It is smooth, rich, and entirely customized to your exact cravings. If you happen to own a stand mixer, you already possess half the equipment needed for frozen dessert success. Learning how to make ice cream using KitchenAid opens up a whole new world of culinary creativity right in your own kitchen.
While many people buy standalone appliances for frozen treats, the KitchenAid ice cream maker attachment is a game-changer. It saves precious counter space and uses the motor you already rely on for bread dough and cake batter. Whether you prefer a classic vanilla bean, a rich dark chocolate, or a vibrant fruit sorbet, mastering this process is simple, fun, and incredibly rewarding.
Key Takeaways
- Freeze the Bowl Properly: The KitchenAid ice cream maker bowl must be completely frozen for at least 24 hours before use to ensure your base churns correctly.
- Chill the Base: Always chill your ice cream custard or mixture thoroughly in the refrigerator before pouring it into the running machine.
- Keep the Paddle Moving: Never stop the stand mixer while pouring in the liquid base, or the mixture will instantly freeze and jam the dasher.
- Add Mix-ins Near the End: Stir in chocolate chips, nuts, or fruit during the final two minutes of churning to distribute them evenly without jamming the paddle.
- Transfer for Firming: Freshly churned ice cream has a soft-serve consistency and requires a few hours in the freezer to reach a scoopable texture.
- Clean with Care: Hand wash the freezer bowl after it returns to room temperature to prevent thermal shock and damage.
Understanding Your KitchenAid Ice Cream Maker
Before you start mixing ingredients, it helps to understand how the attachment works. The system consists of three main parts: the freezer bowl, the dasher (paddle), and the drive assembly. Each piece plays a crucial role in transforming liquid ingredients into a frozen masterpiece.
The Freezing Core
The star of the show is the double-walled freezer bowl. Inside these walls is a special liquid coolant that absorbs heat as your ice cream churns. To do its job effectively, this liquid needs to be completely frozen solid. You should store the bowl in the back of your freezer, where the temperature is coldest, for a minimum of 24 hours. If you shake the bowl and hear liquid sloshing around, it is not cold enough to use.
The Dasher and Drive Assembly
The dasher is the paddle that spins inside the bowl, scraping the sides and incorporating air into your mixture. The drive assembly connects the top of the dasher to the motor hub of your stand mixer. Together, they replicate the churning action of a traditional ice cream maker, ensuring your dessert freezes evenly without forming large, icy crystals.
Preparing Your Ice Cream Base
The secret to incredible ice cream lies in the quality and temperature of your base. When learning how to make ice cream using KitchenAid, remember that patience is your best friend. Rushing this step leads to grainy textures or a failure to freeze.
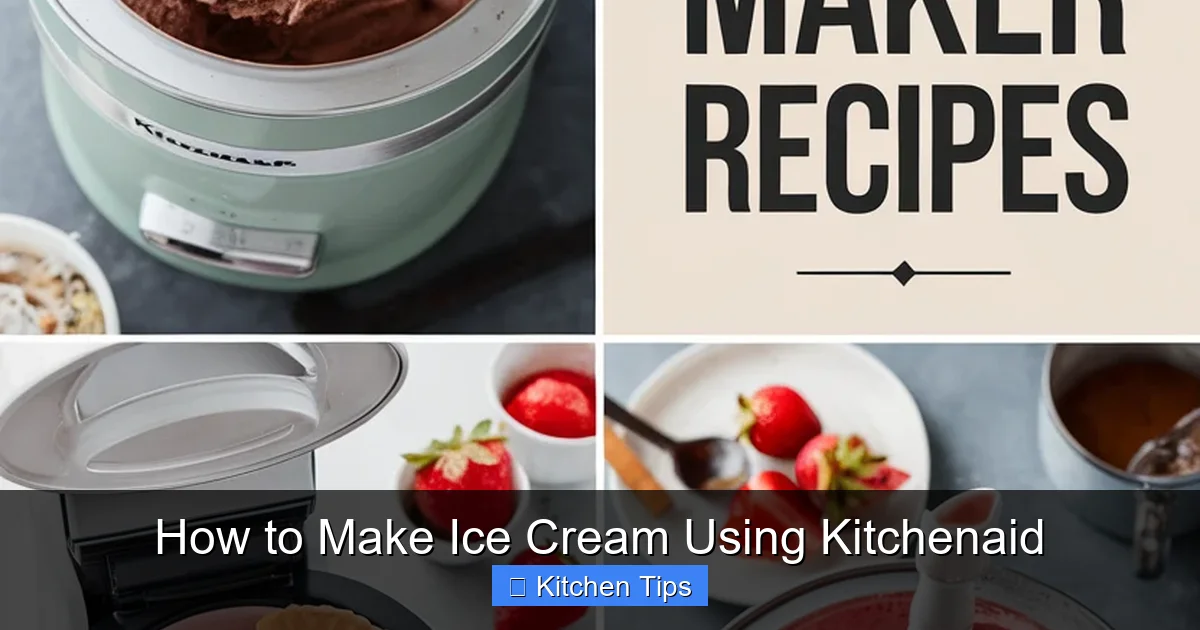
Visual guide about How to Make Ice Cream Using Kitchenaid
Image source: hangryhanna.com
Choosing Your Recipe Style
You can choose between two primary styles of ice cream bases: Philadelphia-style (uncooked) and French-style (custard-based). Philadelphia-style bases rely on heavy cream and milk without egg yolks, making them quick and easy to whisk together. French-style bases use cooked egg yolks for a velvety, ultra-rich mouthfeel. Both styles work wonderfully with the KitchenAid attachment.
The Importance of Chilling
No matter which base you choose, it must be thoroughly chilled before churning. Warm ingredients will melt the coolant inside the bowl before the freezing process can even begin. Aim to refrigerate your base for at least four hours, or ideally overnight. A cold base also yields a smoother final product because the fat molecules have time to properly solidify.
Step-by-Step Churning Process
Once your bowl is frozen and your base is chilled, it is time for the fun part. Setting up your machine correctly prevents frustrating kitchen mishaps and ensures a smooth churning process.
Assembly and Setup
Take the freezer bowl out of the freezer only when you are completely ready to use it. Place the bowl onto the stand mixer base, secure the dasher inside the bowl, and attach the drive assembly. Lower the mixer head and lock it into place. Make sure everything is aligned properly before turning on the motor.
The Pour
Turn your KitchenAid stand mixer on to low speed (usually setting 1 or stir). It is vital that the paddle is already moving before you introduce any liquid. Slowly pour your chilled ice cream base through the top opening into the spinning bowl. If you pour the base into a stationary bowl, it will freeze instantly against the super-cold walls and jam the paddle.
Churning Time
Let the mixer run on low speed for about 20 to 30 minutes. You will watch the liquid transform into a thick, creamy soft-serve consistency. Resist the urge to turn the speed up too high, as a lower speed incorporates the optimal amount of air and prevents strain on your mixer motor.
Adding Mix-Ins and Customizing Flavors
One of the greatest joys of making homemade treats is loading them up with your favorite mix-ins. Knowing when and how to add these ingredients makes all the difference between a successful batch and a jammed machine.
Timing is Everything
Never add bulky mix-ins like crushed cookies, nuts, or chocolate chunks at the beginning of the churn. They will get stuck in the paddle and prevent the ice cream from freezing properly. Instead, wait until the final two minutes of churning. Drop them gently through the top chute while the paddle is still spinning.
Flavor Ideas to Try
The sky is the limit when it comes to flavor combinations. Try folding in swirls of salted caramel during the transfer process, or add fresh strawberry puree to a sweet cream base. Mint chocolate chip, espresso crunch, and toasted coconut are also fan favorites that shine when made fresh at home.
Storing and Serving Your Homemade Ice Cream
When the churning cycle finishes, your ice cream will look like soft-serve. While you can certainly eat it right away, giving it a little extra time in the freezer yields a traditional scoopable texture.
The Ripening Process
Transfer your freshly churned ice cream from the metal bowl into an airtight, freezer-safe container. Press a sheet of plastic wrap directly onto the surface of the ice cream to prevent ice crystals from forming. Place the container in the coldest part of your freezer for two to four hours to “ripen” and firm up.
Serving Tips
Homemade ice cream contains no artificial stabilizers, which means it melts a bit faster than store-bought varieties. Let it sit at room temperature for five to ten minutes before scooping. Dip your ice cream scoop in warm water to glide effortlessly through the rich, creamy dessert.
Mastering how to make ice cream using KitchenAid transforms ordinary baking equipment into an all-season dessert station. By keeping your bowl ice-cold, chilling your base, and following the correct churning steps, you will create gourmet frozen treats that impress family and friends every single time.
Frequently Asked Questions
How long does the KitchenAid ice cream bowl need to freeze?
The freezer bowl needs to freeze for a minimum of 24 hours. For the best results, many users prefer to leave it in the back of the freezer permanently so it is always ready to go.
Can I run my stand mixer on high speed while churning ice cream?
No, you should always keep your KitchenAid mixer on the lowest setting (stir or 1) while churning. Higher speeds can strain the motor and cause the mixture to whip too fast without freezing properly.
Why is my ice cream still liquid after 30 minutes of churning?
If your mixture remains liquid, your freezer bowl likely was not cold enough, or your ice cream base was still warm when you started. Always ensure the bowl is frozen solid for 24 hours and the base is thoroughly chilled.
Can I wash the KitchenAid ice cream bowl in the dishwasher?
Never put the freezer bowl in the dishwasher. The extreme heat can damage the internal cooling liquid. Always wash the bowl by hand using warm, soapy water after it has returned to room temperature.
What should I do if the paddle stops spinning during the churn?
If the paddle stops, your base may have frozen too quickly against the walls because the mixer was not running when you poured it in. Turn off the mixer, let the bowl thaw slightly, and transfer the contents to the freezer to finish manually.
Do I need to use eggs to make ice cream with this attachment?
Not at all! You can make fantastic Philadelphia-style ice cream using just heavy cream, whole milk, sugar, and flavorings without any eggs whatsoever.