
Learning how to make bread with a KitchenAid mixer transforms your home baking experience from a labor-intensive workout into a seamless, automated process. By following these simple steps, you can achieve professional-quality results with consistent texture and perfect crust development in your own kitchen.
There is nothing quite like the smell of fresh bread wafting through the house. For generations, people kneaded dough by hand, which is a lovely tradition but can be incredibly tiring. If you have a KitchenAid mixer sitting on your counter, you have a professional-grade assistant ready to do the heavy lifting for you. Learning how to make bread with a KitchenAid mixer is a game-changer for anyone who wants to enjoy artisan-style loaves without spending hours hovering over a floured countertop.
In 2026, home baking has reached new heights of popularity. With better ingredients available and a deeper appreciation for slow living, mastering this skill is more rewarding than ever. Whether you are a beginner hoping to bake your first sandwich loaf or a seasoned pro looking for a consistent way to handle high-hydration doughs, your stand mixer is the ultimate tool. Let’s dive into how you can use it to bake better bread today.
Key Takeaways
- Use the Dough Hook: Always attach the dough hook attachment for bread, as the paddle or whisk will burn out your motor.
- Mind the Speed: Never go above speed 2 when kneading dough, as higher speeds can overheat the motor and damage the gears.
- Measure Correctly: Use a digital kitchen scale instead of measuring cups for consistent hydration and texture.
- Temperature Control: Ensure your water is warm but not hot to keep the yeast active without killing it.
- Monitor the Dough: Stop the mixer once the dough clears the sides of the bowl and feels smooth, even if the timer hasn’t finished.
- Allow for Proofing: Give your dough enough time to rise in a warm, draft-free spot to ensure the best flavor and structure.
Understanding Your Mixer for Bread Making
Before you start tossing flour into the bowl, it is important to understand how your machine works. KitchenAid mixers are robust, but they are not industrial machines. Bread dough is dense and heavy, meaning it puts a significant amount of torque on the motor. Using the wrong attachment or running the speed too high can lead to mechanical issues.
The Importance of the Dough Hook
The dough hook is non-negotiable. While the paddle might look like it could mix the dough, it is designed for cake batters and cookie doughs. It does not provide the “stretch and fold” motion necessary to develop gluten in yeast breads. Always ensure your hook is securely locked into place before you begin. If you have the spiral dough hook, you will find it pulls the dough away from the sides of the bowl much more efficiently than the older “C” style hooks.
Respect the Speed Limit
The golden rule for how to make bread with a KitchenAid mixer is to never exceed speed 2. You might be tempted to turn it up to “stir” or even higher to speed up the process, but don’t do it. Low speed allows the gears to mesh correctly and prevents the motor from overheating. Think of it as a marathon, not a sprint. The mixer does its best work when it moves slowly and consistently.
Gathering Your Ingredients and Tools
Success starts before the mixer turns on. You need the right ingredients to ensure your bread is airy and delicious. Bread flour is usually the best choice because it has a higher protein content, which leads to better gluten development and a chewier texture. If you only have all-purpose flour, you can still make bread, but the structure might be a bit softer.
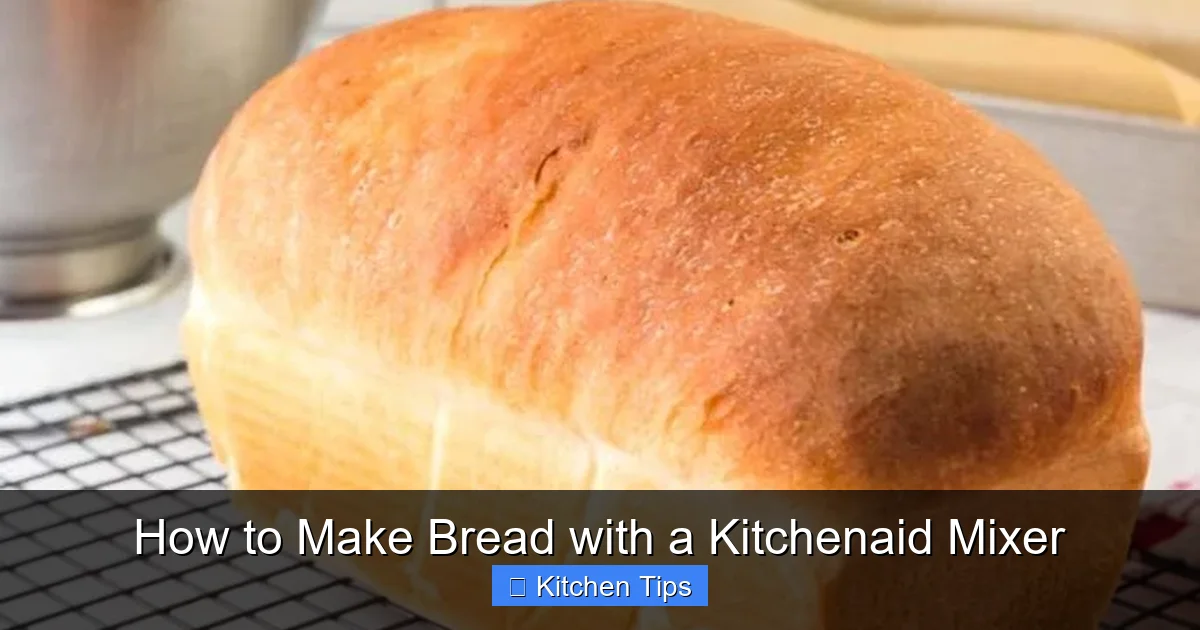
Visual guide about How to Make Bread with a Kitchenaid Mixer
Image source: doughdabbler.com
Water and Yeast Balance
Water temperature is crucial. You want water that feels warm to the touch, like a baby’s bathwater. If it is too cold, the yeast will stay dormant. If it is too hot, you risk killing the yeast entirely. Use an instant-read thermometer if you aren’t sure. Furthermore, always check the expiration date on your yeast. Old yeast is the number one reason for bread that refuses to rise.
The Role of Salt and Fats
Salt is more than just a flavor enhancer; it regulates the yeast, preventing it from consuming the sugars too quickly and collapsing. Fats like butter or olive oil soften the dough and result in a more tender crumb. When learning how to make bread with a KitchenAid mixer, add these ingredients in the order suggested by your recipe to ensure everything is incorporated evenly.
Step-by-Step Mixing and Kneading
Once your ingredients are ready, it is time to assemble. Start by combining your liquids and yeast in the mixer bowl, letting it sit for a few minutes until it looks foamy. This “proofing” process gives you peace of mind that your yeast is alive and active before you add the heavy dry ingredients.
Mixing the Dough
Add about two-thirds of your flour and turn the mixer to the lowest speed. As the flour incorporates, gradually add the remaining flour. You are looking for a shaggy mass—this is perfectly normal. Once the dough starts to come together into a ball, stop and scrape down the sides of the bowl with a silicone spatula. This ensures that no hidden pockets of dry flour remain stuck at the bottom.
Kneading to Perfection
Now, set the speed to 2 and let it run. How do you know when it is finished? Most recipes will call for 5 to 8 minutes of kneading. However, you should use your eyes rather than a timer. When the dough pulls away from the sides of the bowl and looks smooth and elastic, it is likely ready. If you poke it with a finger, it should spring back. If it feels tacky but not sticky, you have nailed it.
Handling Sticky or High-Hydration Doughs
High-hydration doughs, like ciabatta or focaccia, are notorious for being messy. This is where the KitchenAid mixer shines. By using a machine, you can work with doughs that would be impossible to handle by hand on a counter. However, you must resist the urge to add “just a little more flour.”
Managing the Stickiness
If your dough is sticking to the bottom of the bowl, resist adding more flour, which can make your bread dry. Instead, stop the mixer and scrape the bottom of the bowl to redistribute the dough. Many bakers find that adding a light coating of oil to the bowl before mixing helps the dough release more easily. Trust the process; as the gluten develops, the dough will naturally become less sticky and more cohesive.
The “Windowpane Test”
If you are ever unsure if your bread is ready, perform the windowpane test. Take a small piece of dough and gently stretch it between your fingers. If you can stretch it thin enough to see light pass through without it tearing, your gluten is fully developed. If it breaks quickly, give it another minute or two in the mixer.
Proofing, Shaping, and Baking
Your mixer has finished its job, but your work isn’t over. The first rise, or bulk fermentation, is where the flavor develops. Remove the dough from the bowl, lightly grease the container, and place the dough inside. Cover it with a damp cloth or plastic wrap. Keeping the dough in a warm spot, like inside a cold oven with just the light turned on, is a great trick for a draft-free environment.
Shaping Your Loaf
After the first rise, your dough will have doubled in size. Gently punch it down to release the air bubbles. Shape it into a tight ball or log, depending on the type of bread you are making. A tight shape will help the bread hold its form during the second rise and in the oven. Remember, the tighter the outer surface of the dough, the better the oven spring will be.
The Final Bake
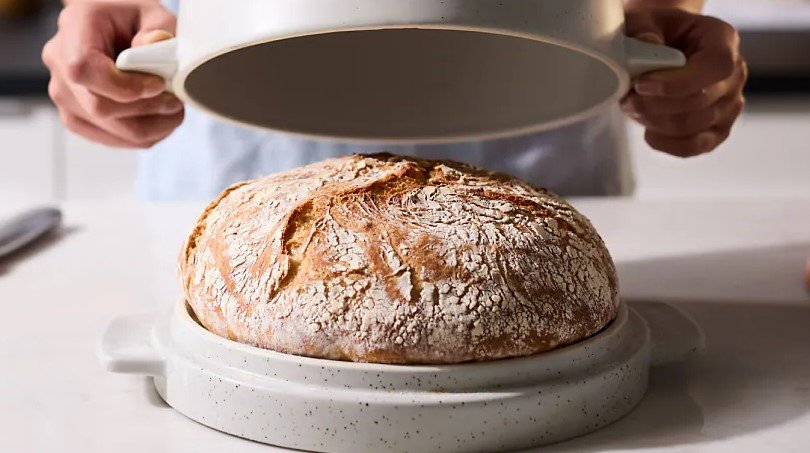
Before baking, let the shaped dough rest for a second rise. This usually takes 30 to 45 minutes. Preheat your oven early, ideally with a pizza stone or Dutch oven inside. When you are ready to bake, score the top of the loaf with a sharp knife or a razor blade. This prevents the bread from bursting in random spots and allows for controlled expansion. The result should be a beautiful, golden-brown loaf that sounds hollow when tapped on the bottom.
Troubleshooting Common Mistakes
Even with a mixer, mistakes happen. Maybe the loaf didn’t rise, or the crust is too hard. Don’t be discouraged. Baking is a science, and even small adjustments can make a world of difference. Most common issues stem from temperature or timing.
Dense or Heavy Bread
If your bread turns out like a brick, your yeast might have been dead, or your dough was not kneaded long enough. Always check the expiration of your yeast. If the dough didn’t look like it had grown by double during the proofing stage, it wasn’t ready to bake. Patience is the secret ingredient in every recipe.
Burnt Crust or Raw Center
If your crust is burning before the inside is cooked, your oven might be too hot, or you aren’t using enough steam. Try placing a tray of water at the bottom of your oven during the first ten minutes of baking. The steam helps the crust stay soft initially, allowing the bread to expand fully before the crust sets and browns.
Learning how to make bread with a KitchenAid mixer is one of the most rewarding skills you can develop in your kitchen. It turns a chore into a creative hobby. As you get more comfortable, you can start experimenting with different flours, adding seeds, or incorporating herbs. Every loaf you bake will get better than the last. So, go ahead, lock in that dough hook, and start your next baking adventure today.
Frequently Asked Questions
Can I use the whisk attachment for bread dough?
No, you should never use the whisk attachment for bread dough as it is too delicate and can easily bend or break. Always stick to the metal dough hook, which is specifically designed to handle the heavy stress of kneading yeast dough.
What speed should I use for kneading?
You should always keep your KitchenAid mixer on speed 2 when kneading bread dough. Using a higher speed can force the motor to work too hard and may cause the machine to overheat or damage the internal gear system.
Why does my dough stick to the sides of the bowl?
It is normal for dough to stick slightly during the initial mixing phase, but it should pull away from the sides as the gluten develops. If it stays stuck, try adding one tablespoon of flour at a time, but be careful not to add too much, or your bread will become dry.
How do I know when the dough is finished kneading?
Your dough is ready when it is smooth, elastic, and pulls away cleanly from the sides of the bowl. You can also perform the windowpane test by stretching a small piece of dough to see if it becomes thin and translucent without tearing.
Can I mix whole wheat bread in a KitchenAid?
Yes, you can, but whole wheat flour is heavier and can be tougher on the motor than white bread flour. It is recommended to work with smaller batches and ensure you never exceed the 6-minute kneading limit to protect your mixer’s longevity.
Does the mixer replace the need for hand kneading?
Absolutely! The KitchenAid mixer is designed to replicate the kneading process perfectly by stretching and folding the dough. You can get the same, if not better, results with the mixer, leaving you with less mess and much less fatigue.