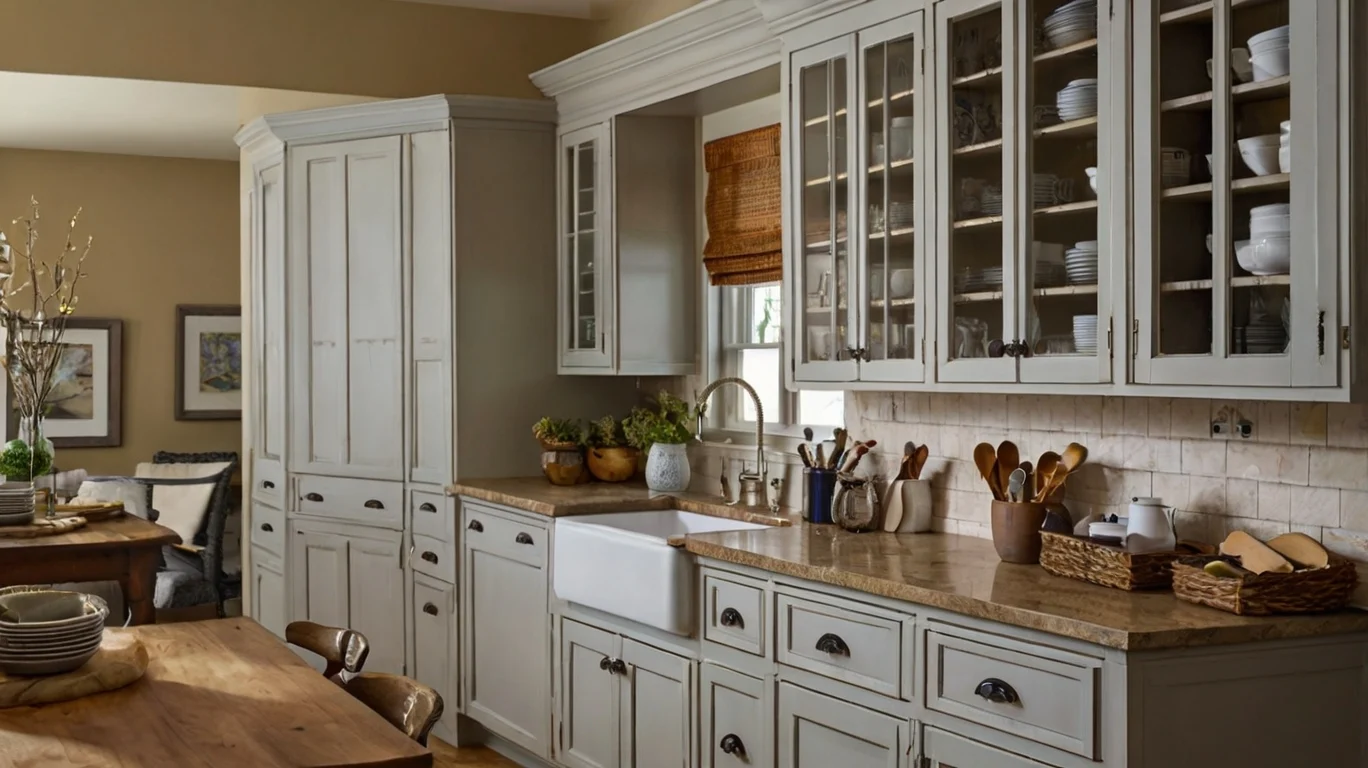
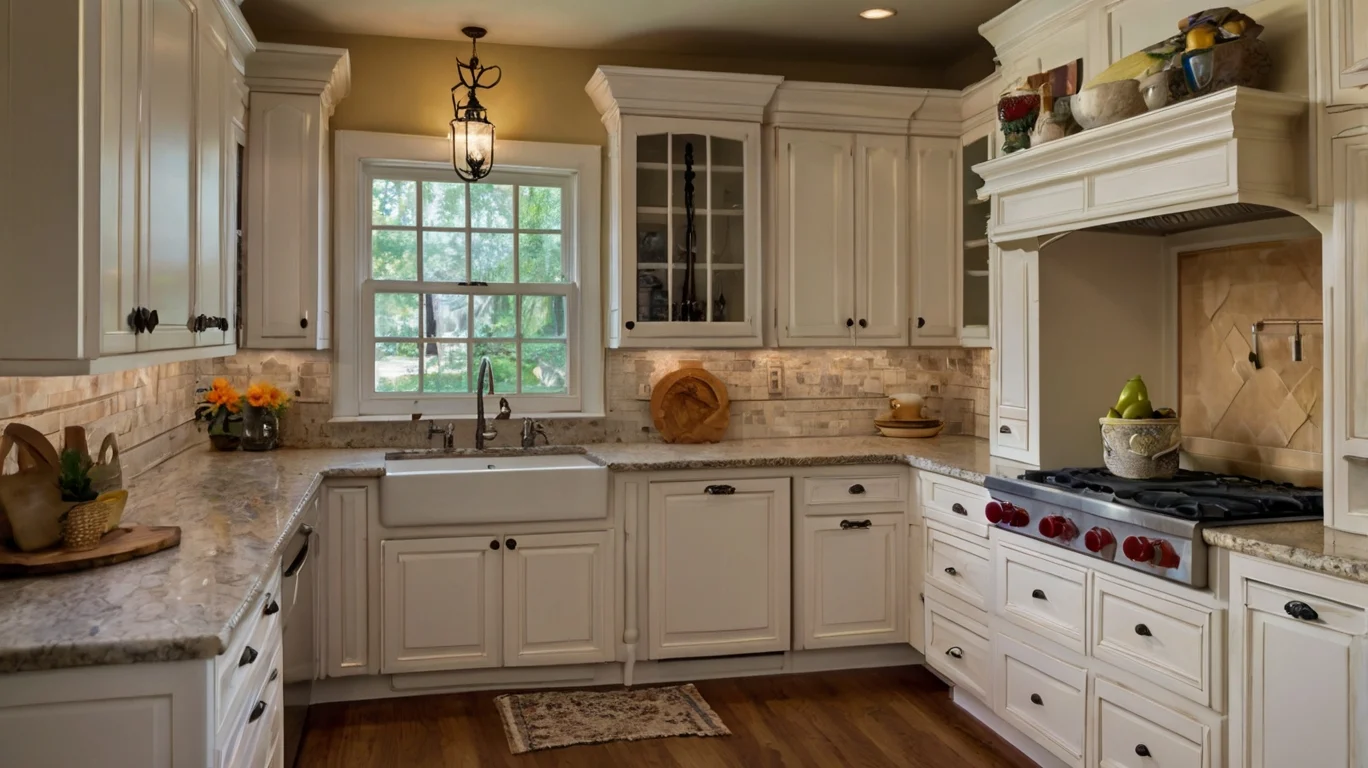
A Complete Guide to the best Painting Kitchen Cabinets
Painting kitchen cabinets is one of the most effective ways to refresh your kitchen without the expense of a full renovation. A new coat of paint can transform outdated or worn cabinets into a modern, stylish feature of your home. Whether you want a bright and airy look, a bold and dramatic statement, or a classic neutral finish, painting your cabinets is a budget-friendly and rewarding DIY project.
In this guide, we’ll cover everything you need to know—from choosing the right paint to achieving a professional finish that lasts.
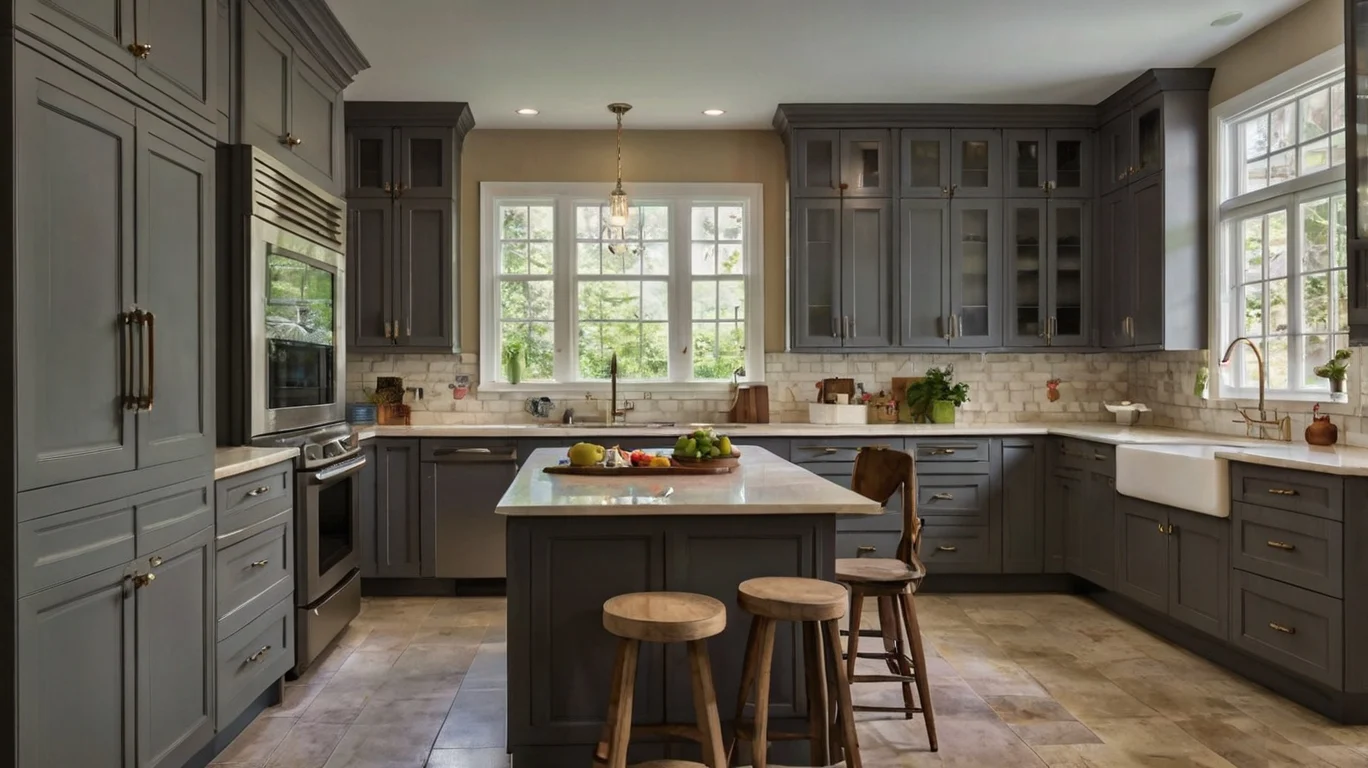
Table of Contents
Why Should You Paint Your Kitchen Cabinets?
Painting your kitchen cabinets is a great way to enhance your kitchen’s appearance and functionality. Here are some key benefits:
- Cost-Effective Makeover – Instead of replacing old cabinets, painting them can give your kitchen a fresh look at a fraction of the cost.
- Customizable Colors – You have complete control over the color scheme, allowing you to match your kitchen to your personal style.
- Boosts Home Value – A well-painted kitchen can make your home more attractive to potential buyers.
- Eco-Friendly Choice – Instead of disposing of old cabinets, refinishing them with paint reduces waste.
- Easier Than a Full Remodel – Unlike a complete kitchen overhaul, painting cabinets takes less time and effort while still delivering a significant impact.
Step-by-Step Guide to Painting Kitchen Cabinets
Step 1: Gather Your Materials
Before you begin, make sure you have all the necessary tools and supplies:
✔ Screwdriver (for removing cabinet doors and hardware)
✔ Mild detergent or degreaser (to clean surfaces)
✔ Sandpaper or sanding block (for smooth paint application)
✔ Painter’s tape (to protect walls and countertops)
✔ Primer (ensures even coverage and durability)
✔ High-quality paint (oil-based or latex-based)
✔ Paintbrushes (angled brushes for corners and details)
✔ Foam roller (for a smooth, streak-free finish)
✔ Drop cloths (to protect floors and surfaces)
✔ Clear sealant or polyurethane finish (for added protection)
Step 2: Remove Cabinet Doors and Hardware
- Use a screwdriver to remove all cabinet doors, drawers, and hardware (hinges, knobs, and handles).
- Label each door and drawer to make reassembly easier.
- Place hardware in a container to keep it organized.
Step 3: Clean the Cabinets
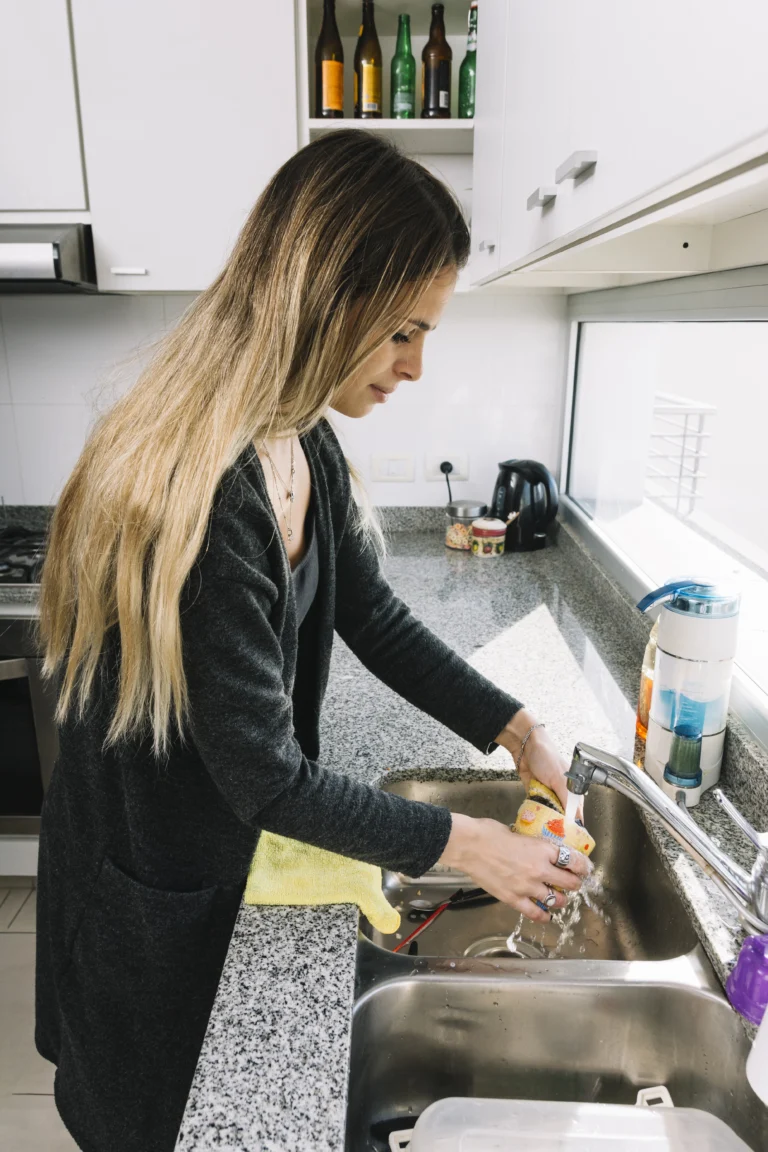
- Painting Kitchen Cabinets often accumulate grease and grime from cooking.
- Use a degreaser or mild soap and water to clean the surfaces thoroughly.
- Allow them to dry completely before sanding.
Step 4: Sand the Surfaces
- Lightly sand all cabinet surfaces to remove the existing finish and create a smooth surface for the paint to adhere to.
- Use medium-grit sandpaper (120-150 grit) to scuff the surface.
- Wipe away dust with a damp cloth.
Step 5: Apply Painter’s Tape and Protect Surroundings
- Use painter’s tape to cover areas where the cabinets meet walls, countertops, and appliances.
- Lay down drop cloths or plastic sheets to protect floors and countertops from paint spills.
Step 6: Apply Primer
- A high-quality primer ensures that the paint adheres well and lasts longer.
- Apply one even coat using a brush or foam roller.
- Allow it to dry completely before moving on to the next step.
Step 7: Choose and Apply Paint
Types of Painting Kitchen Cabinets:
- Oil-Based Paint – Highly durable and smooth but takes longer to dry and has strong fumes.
- Latex-Based Paint – Easier to clean, dries faster, and has lower fumes, making it a great choice for DIY projects.
- Chalk Paint – Provides a vintage, matte finish with minimal prep work.
- Acrylic Paint – Water-resistant and offers a smooth finish.
Painting Tips for a Flawless Finish:
- Apply multiple thin coats rather than one thick coat to prevent drips and streaks.
- Use a foam roller for flat surfaces and a brush for corners and detailed areas.
- Let each coat dry completely before applying the next one.
- Sand lightly between coats for a professional, smooth texture.
Step 8: Apply a Protective Finish
- After the paint has dried, apply a clear polyurethane or topcoat to protect against scratches, moisture, and stains.
- Choose a finish that complements your desired look:
- Matte – Soft, subtle appearance.
- Satin – Slight sheen with a smooth texture.
- Glossy – High shine and easy to clean.
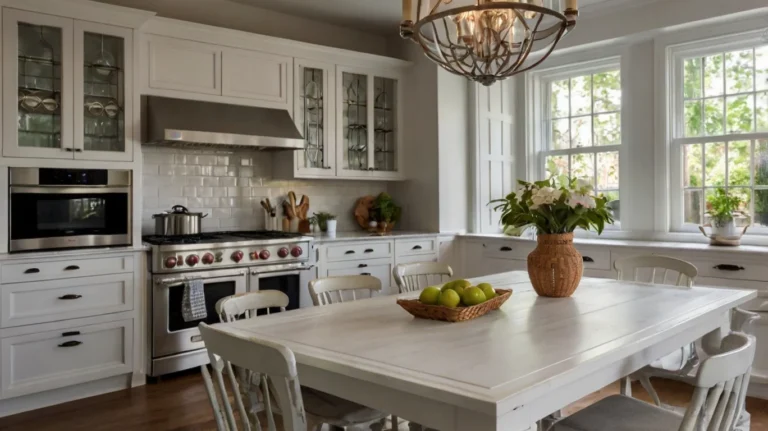
Step 9: Reassemble and Enjoy Your New Cabinets
- Once the paint and sealant have fully dried, reattach the cabinet doors and hardware.
- Make sure everything is aligned properly for a polished look.
- Step back and admire your transformed kitchen!
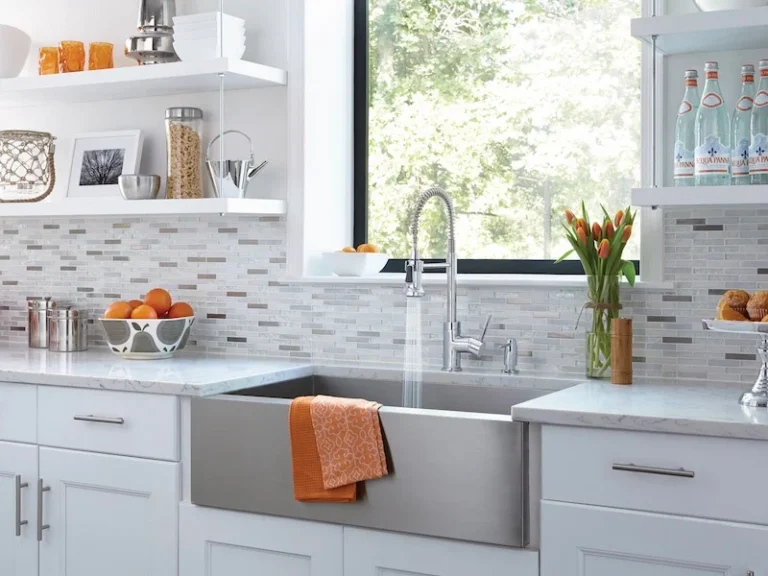
Additional Tips for Painting Kitchen Cabinets
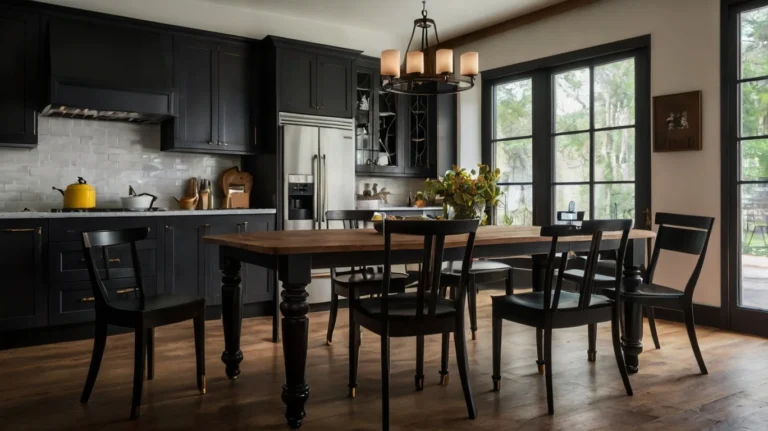
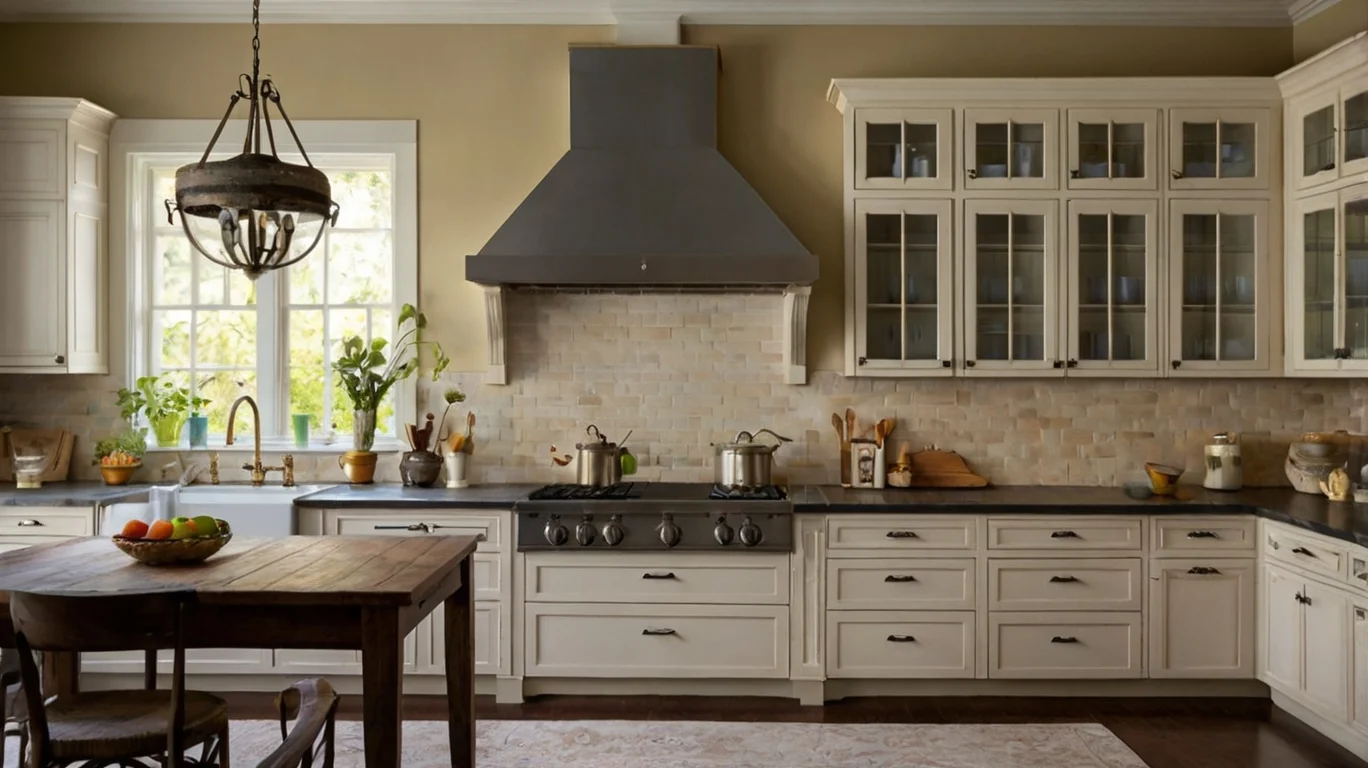
- Choose the Right Color: Light colors like white, cream, and pastels make the kitchen feel larger, while darker shades like navy and forest green add elegance.
- Work in a Well-Ventilated Area: Keep windows open or use fans to reduce paint fumes.
- Don’t Rush the Drying Process: Proper drying time ensures a durable and smooth finish.
- Test the Paint First: Before painting all cabinets, apply a small test patch to ensure you like the color and finish.
- Upgrade Hardware for a Fresh Look: New handles and knobs can further enhance your kitchen’s makeover.
Common Mistakes to Avoid
🚫 Skipping Sanding – Even if using chalk paint, sanding ensures better adhesion.
🚫 Applying Too Much Paint at Once – Thick coats lead to streaks and drips. Use thin layers instead.
🚫 Not Using a Primer – Paint may peel or chip over time without proper priming.
🚫 Skipping the Protective Finish – A topcoat adds durability and resistance to moisture and stains.
🚫 Reattaching Cabinet Doors Too Soon – Always allow paint to cure completely before handling.
Here’s a table summarizing key aspects of painting kitchen cabinets:
| Step | Description | Tips for Best Results |
|---|---|---|
| 1. Gather Materials | Collect paint, primer, brushes, sandpaper, and tape. | Use high-quality tools for a smooth finish. |
| 2. Remove Hardware | Take off cabinet doors, handles, and hinges. | Label doors for easy reassembly. |
| 3. Clean Cabinets | Wash surfaces to remove grease and dust. | Use a degreaser for deep cleaning. |
| 4. Sand the Surface | Lightly sand to create a rough texture for paint. | Wipe off dust with a damp cloth before painting. |
| 5. Apply Primer | Coat cabinets with primer to improve paint adhesion. | Choose a stain-blocking primer for best durability. |
| 6. Paint the Cabinets | Use thin coats of paint with a brush or foam roller. | Apply multiple coats for even coverage. |
| 7. Seal for Protection | Apply a clear topcoat for durability. | Satin or gloss finishes are easier to clean. |
| 8. Reassemble Cabinets | Reattach doors and hardware after drying completely. | Wait at least 24 hours for paint to cure. |
Final Thoughts
Painting kitchen cabinets is a budget-friendly, rewarding project that can completely transform your kitchen’s appearance. With proper preparation, high-quality materials, and attention to detail, you can achieve a stunning, long-lasting finish that rivals professional work.
Here are seven frequently asked questions (FAQs) about painting kitchen cabinets:
1. What type of paint is best for kitchen cabinets?
For durability and a smooth finish, use high-quality acrylic, latex, or oil-based enamel paint. Satin, semi-gloss, or gloss finishes are ideal as they resist moisture and stains.
2. Do I need to sand the cabinets before painting?
Yes, sanding helps the paint adhere properly by creating a slightly rough surface. Lightly sand with fine-grit sandpaper (120-220 grit) and remove dust before applying primer.
3. Is it necessary to use a primer before painting cabinets?
Yes, primer improves paint adhesion, prevents stains from bleeding through, and increases durability. A stain-blocking or bonding primer works best for Painting Kitchen Cabinets.
4. Can I paint over laminate cabinets?
Yes, but proper preparation is essential. Use a high-quality bonding primer designed for laminate surfaces and apply thin, even coats of paint for a smooth finish.
5. How long does it take for painted cabinets to dry?
Paint typically dries to the touch within a few hours, but it’s best to wait 24-48 hours before reattaching doors and using cabinets to ensure full curing.
6. Should I use a brush, roller, or spray gun to paint cabinets?
A combination works best. Use a brush for edges and details, a foam roller for large flat surfaces, and a spray gun for a smooth, professional finish.
7. How do I maintain painted cabinets?
Clean them regularly with a soft cloth and mild soap. Avoid harsh chemicals or abrasive sponges that can damage the paint finish.