A Comprehensive Guide to Painting Kitchen Cabinets 2024
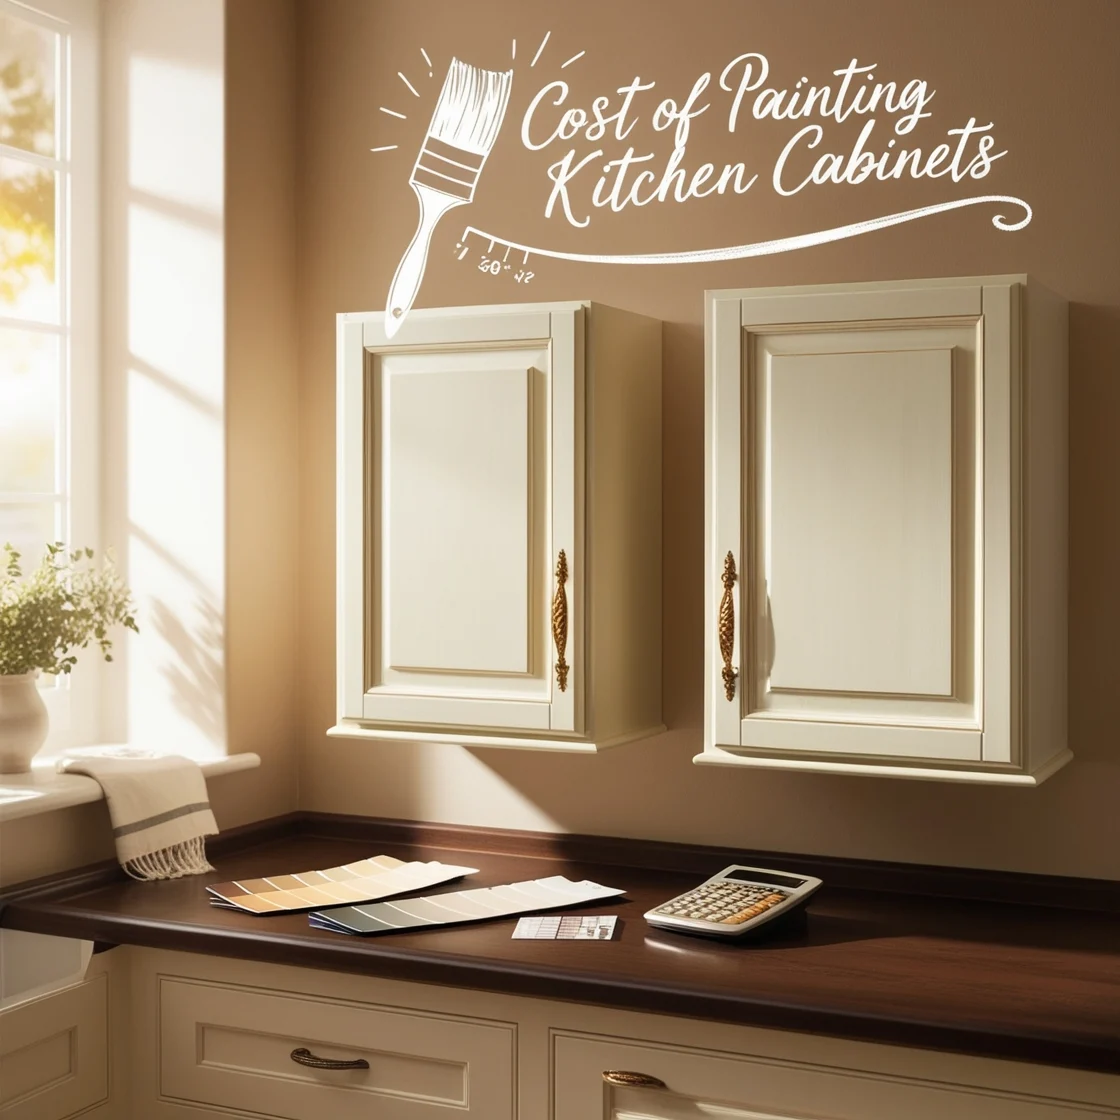
Transforming your kitchen doesn’t always require a full remodel; sometimes, a fresh coat of paint on your cabinets is all it takes to breathe new life into the space. Painting kitchen cabinets is a popular DIY project that can significantly enhance the aesthetic appeal of your kitchen while being budget-friendly. This guide will walk you through the essential steps to successfully paint your kitchen cabinets, ensuring a beautiful and durable finish.
Table of Contents
Why Paint Your Kitchen Cabinets?
Painting kitchen cabinets is a cost-effective way to update your kitchen without the expense of new cabinetry. Here are a few reasons why you might consider this project:
- Cost Savings: Replacing cabinets can be incredibly costly. Painting allows you to achieve a fresh look at a fraction of the price.
- Customization: With countless color options available, you can tailor your cabinets to match your personal style or the overall theme of your home.
- Eco-Friendly: Painting existing cabinets reduces waste, and using low-VOC or no-VOC paint helps maintain better indoor air quality.
- Increased Home Value: A well-done paint job can enhance your kitchen’s appeal, potentially increasing your home’s market value.
What You’ll Need
Before starting, gather the necessary materials:
- Paint: High-quality acrylic latex, alkyd (oil-based), or hybrid enamel paint.
- Primer: A good primer suitable for the material of your cabinets.
- Cleaner: A degreaser or a mixture of soap and water.
- Sandpaper: Fine-grit (120-150 grit) for smoothing surfaces.
- Tack Cloth: To remove dust after sanding.
- Brushes and Rollers: A foam roller for flat surfaces and an angled brush for edges and corners.
- Painter’s Tape: To protect areas you don’t want to paint.
- Drop Cloths: To protect floors and counters.
- Screwdriver: For removing hardware and cabinet doors.
Step-by-Step Process
1. Remove Cabinet Doors and Hardware
Start by detaching all cabinet doors, drawers, and hardware (handles, knobs, and hinges) using a screwdriver. Label each component to make reinstallation easier. Store screws and hardware in labeled bags to avoid losing any pieces.
2. Clean the Cabinets Thoroughly
Next, clean the cabinet surfaces to remove any grease, dirt, or grime. A degreaser or a mixture of warm water and mild soap works well. Be thorough, especially in areas near the stove and sink.
3. Sand the Surfaces
Once the cabinets are clean and dry, lightly sand all surfaces with fine-grit sandpaper. This step helps the paint adhere better and provides a smoother finish. After sanding, wipe down the surfaces with a tack cloth to remove any dust.
4. Apply Primer
Applying primer is essential for achieving a long-lasting finish. Use a primer suitable for the material of your cabinets (wood or laminate). Apply an even coat using a foam roller for large areas and an angled brush for edges. Allow the primer to dry completely, usually around 4-6 hours.
5. Lightly Sand Again
Once the primer is dry, lightly sand the surfaces again with fine-grit sandpaper (220 grit). This smooths any imperfections and ensures a better paint finish. Wipe away the dust afterward.
6. painting kitchen Cabinets
Now it’s time to apply the paint. Using high-quality paint specifically designed for cabinetry will yield the best results. For painting:
- Use a foam roller for flat surfaces to achieve a smooth finish.
- Use an angled brush for edges and detailed areas.
Apply thin coats, allowing each coat to dry completely before applying the next (usually 4-6 hours). Typically, two to three coats are recommended for even coverage.
7. Apply a Protective Topcoat (Optional)
For added durability, consider applying a protective topcoat after the paint has dried. Polyurethane or polycrylic are good choices, providing a barrier against moisture and wear. Choose a finish that matches your paint (satin or semi-gloss is usually ideal for kitchens).
8. Reattach Doors and Hardware
Once the final coat has dried, carefully reattach the cabinet doors, drawers, and hardware. Use the labels you made earlier to ensure everything goes back in the correct place.
Maintenance Tips
To keep your newly painted cabinets looking fresh:
- Clean them regularly with a soft cloth and a mild soap solution.
- Avoid using abrasive cleaners or scrubbers that could damage the finish.
- If any chips or scratches occur, touch them up with leftover paint to maintain the appearance.
Conclusion
Painting kitchen cabinets can be a rewarding DIY project that revitalizes your space without the high costs of a full renovation. With careful preparation and attention to detail, you can achieve a professional-looking finish that enhances your kitchen’s beauty and functionality. Whether you choose a classic white or a bold, modern color, your freshly painting kitchen cabinets will create a welcoming and stylish environment for years to come.
Here’s a table summarizing the key steps, materials, and purposes for painting kitchen cabinets:
| Step | Action | Materials Needed | Purpose |
|---|---|---|---|
| 1. Remove Cabinet Doors | Detach all cabinet doors, drawers, and hardware | Screwdriver, labeled plastic bags for screws and hardware | Ensures a clean painting surface without getting paint on hinges or knobs |
| 2. Clean the Cabinets | Thoroughly clean all cabinet surfaces to remove grease and grime | Degreaser or a mild soap solution, cleaning cloths | Allows paint to adhere properly and prevents peeling or uneven coverage |
| 3. Sand the Surfaces | Lightly sand all surfaces to prepare for painting | Fine-grit sandpaper (120-150 grit), tack cloth or damp rag | Creates a surface for better paint adhesion and smooths imperfections |
| 4. Apply Primer | Prime cabinet surfaces to ensure an even finish | Primer (suitable for wood or laminate), foam roller, angled brush | Provides a base for the paint to adhere and helps cover stains or imperfections |
| 5. Lightly Sand Again | Sand the primed surfaces to smooth out any bumps | Fine-grit sandpaper (220 grit), tack cloth or damp rag | Ensures a flawless paint application and prevents rough patches |
| 6. Painting kitchen Cabinets | Apply paint in thin, even coats | High-quality paint (acrylic latex, alkyd, or hybrid enamel), foam roller, angled brush | Adds color and transforms the cabinets; thin coats prevent drips and ensure smooth coverage |
| 7. Apply a Protective Topcoat (Optional) | Apply a topcoat for extra durability | Polyurethane or polycrylic topcoat, foam roller or brush | Provides a protective barrier against moisture and wear, extending the life of the paint finish |
| 8. Reattach Doors and Hardware | Reinstall cabinet doors, drawers, and hardware | Screwdriver, labels for matching doors and hardware, storage bags | Completes the project and restores functionality, ensuring a polished final look |
| Final Touches | Maintain cabinets with regular cleaning and touch-ups | Mild soap solution, leftover paint for touch-ups | Keeps painting kitchen cabinets looking fresh and prolongs the life of the paint job |
This table provides a concise overview of the major steps involved in painting kitchen cabinets, including the necessary materials and the purpose of each step to ensure a successful outcome.
Frequently Asked Questions (FAQ) about Painting Kitchen Cabinets
1. How long does it take to painting kitchen cabinets?
The entire process, from preparation to finishing touches, can take anywhere from 3 to 7 days. This timeframe includes cleaning, sanding, priming, painting, and drying time for each coat. Allow for additional time if you apply multiple coats.
2. Do I really need to use primer before painting?
Yes, using a primer is crucial as it helps the paint adhere better and ensures an even finish. Primer also seals any stains or existing finishes, preventing them from bleeding through the new paint, especially when using lighter colors.
3. Can I paint my cabinets without removing them?
While it’s possible to painting kitchen cabinets in place, it’s not recommended for achieving a professional look. Removing the doors and drawers allows for easier access and a smoother application. If you choose to paint them in place, use painter’s tape to protect adjacent surfaces.
4. What type of paint is best for kitchen cabinets?
Acrylic latex, alkyd (oil-based), or hybrid enamel paints are ideal for kitchen cabinets. Acrylic latex is easy to clean up and low in VOCs, while alkyd and hybrid enamels offer greater durability and a smooth finish. Choose a high-quality paint for the best results.
5. How do I clean painted kitchen cabinets?
To maintain your painted cabinets, use a mild soap solution and a soft cloth. Avoid harsh chemicals or abrasive sponges, as these can damage the paint. Regular cleaning helps keep your cabinets looking fresh and new.
6. What finish should I use for painted cabinets?
Semi-gloss or high-gloss finishes are typically recommended for kitchen cabinets because they are durable and easy to clean. Satin finishes can work as well, but they may show wear more quickly. Choose a finish based on your desired look and kitchen usage.
7. Can I use chalk paint on kitchen cabinets?
Yes, chalk paint can be used for kitchen cabinets if you want a matte or vintage look. However, keep in mind that chalk paint is less durable than other types of paint, so applying a protective topcoat is essential to prevent wear and moisture damage.
8. How do I avoid brush marks when painting kitchen cabinets?
To minimize brush marks, apply thin, even coats of paint using a foam roller for larger areas and an angled brush for edges. Avoid over-brushing, which can cause the paint to clump and create visible marks.
9. What should I do if my cabinets get damaged after painting?
If you notice any chips or scratches on your painting kitchen cabinets, touch them up with leftover paint. For larger areas of damage, lightly sand the affected area and reapply paint or a protective topcoat as needed to maintain the finish.
10. How do I ensure a smooth finish on my painting kitchen cabinets?
To achieve a smooth finish, focus on applying thin coats, allowing adequate drying time between layers, and sanding lightly between coats. Using high-quality paint and tools will also contribute to a more polished final look.

