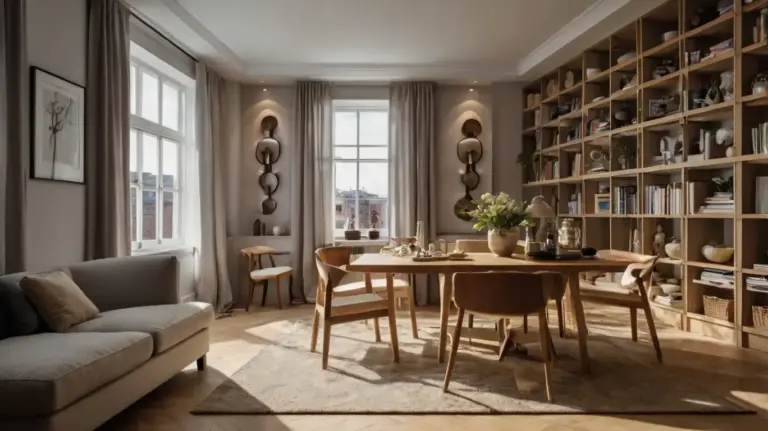
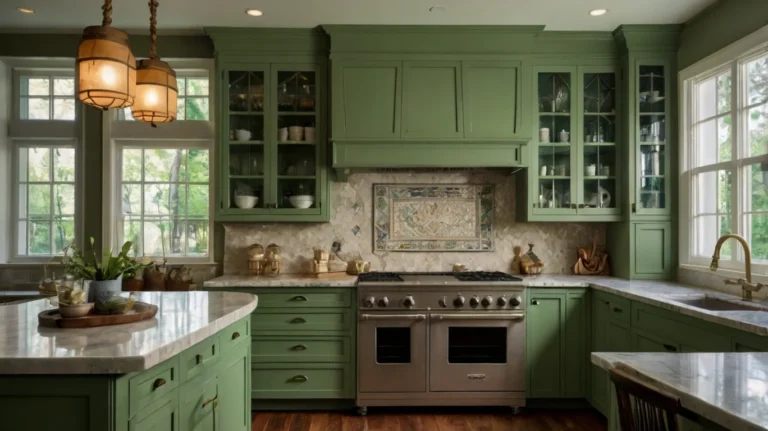
How to Paint Kitchen Cabinets: The Best Guide Step-by-Step
Transform your kitchen with a fresh look! Discover our step-by-step guide on how to paint kitchen cabinet, from preparation to finishing touches. Learn tips for choosing the right paint and tools for a professional finish that revitalizes your space. Revitalize your kitchen with a stunning cabinet makeover! Our comprehensive guide walks you through the entire painting process, including essential prep work, paint selection, and techniques for achieving a flawless finish. Uncover expert tips to ensure your cabinets shine and breathe new life into your kitchen decor.
Table of Contents
Materials You’ll Need:
- Screwdriver
- Painter’s tape
- Drop cloths or plastic sheeting
- Sandpaper (120- and 220-grit)
- Wood filler (if needed)
- Tack cloth
- Degreaser or TSP (trisodium phosphate)
- Primer (stain-blocking or bonding primer)
- Paint (latex or oil-based, or specialized cabinet paint)
- Paintbrushes and foam rollers
- Painter’s pyramid stands or sawhorses
- Hinges and cabinet hardware (optional for replacement)
Step 1: Prep the Kitchen
Before diving into the painting process, it’s essential to prepare the area. Start by removing all items from the cabinets. Protect your countertops, floors, and appliances by covering them with drop cloths or plastic sheeting. To make sure you don’t accidentally paint over hinges or hardware, remove all cabinet doors, drawers, and hardware such as knobs and handles. Label each door and drawer with masking tape to ensure you return them to the right spot once the painting is complete.
Step 2: Clean Your Kitchen Cabinets Thoroughly
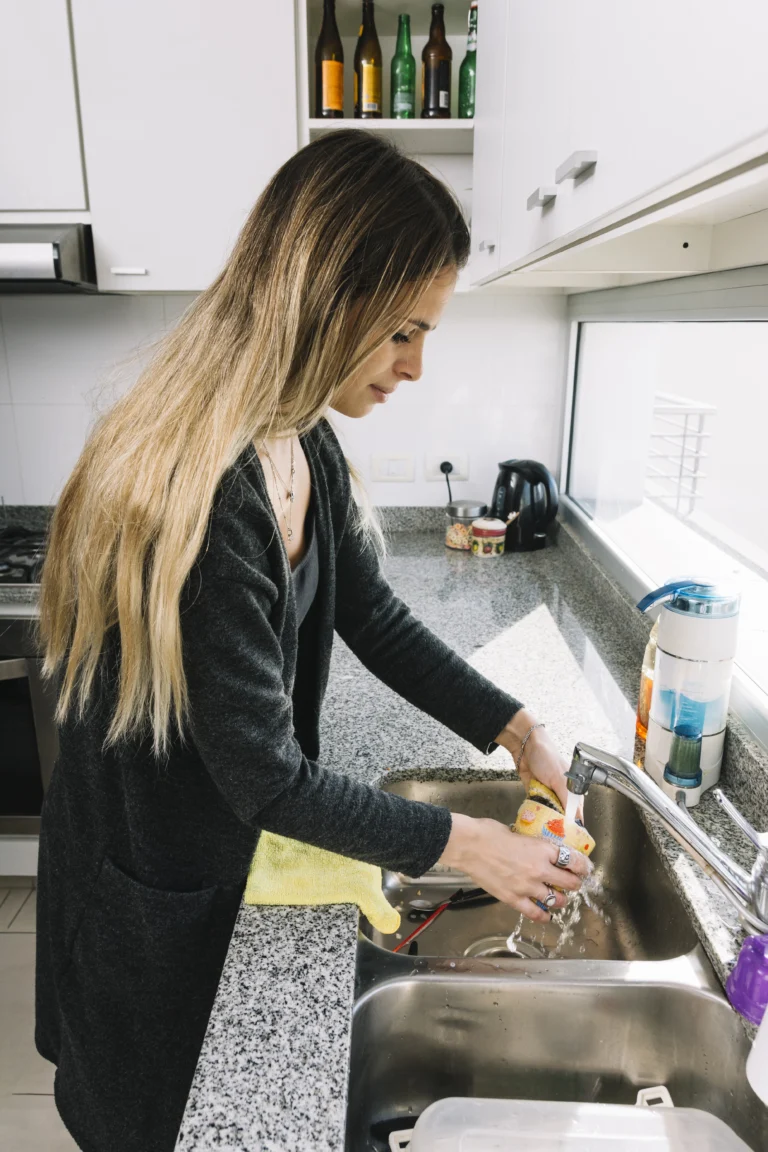
Cleaning your kitchen cabinets is essential before painting. Over time, cabinets can gather grease, food debris, and dirt, particularly those near the stove. Start by using a degreaser or a solution of trisodium phosphate (TSP) mixed with water to scrub every surface effectively. Pay special attention to corners and edges where grime tends to build up. After cleaning, rinse the cabinets with clean water to remove any residue, and let them dry completely. This preparation will ensure better paint adhesion and a smoother finish
Step 3: Sand the Surfaces
Sanding helps the primer and paint adhere to the cabinets more effectively. Use 120-grit sandpaper to lightly sand all surfaces you intend to paint. You don’t need to remove all the existing paint or finish, just roughen up the surface enough to create texture for the primer. After sanding, use a tack cloth to wipe away any dust or debris.
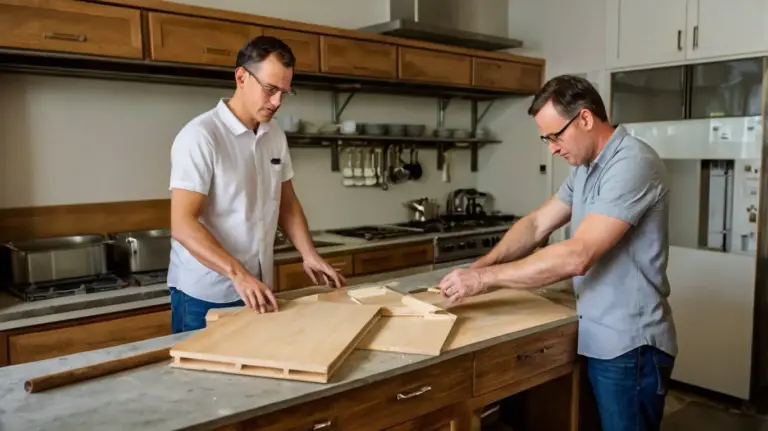
If your cabinets have dents, dings, or scratches, this is the time to repair them with wood filler. After applying the filler, let it dry and then sand the area smooth with fine-grit sandpaper.

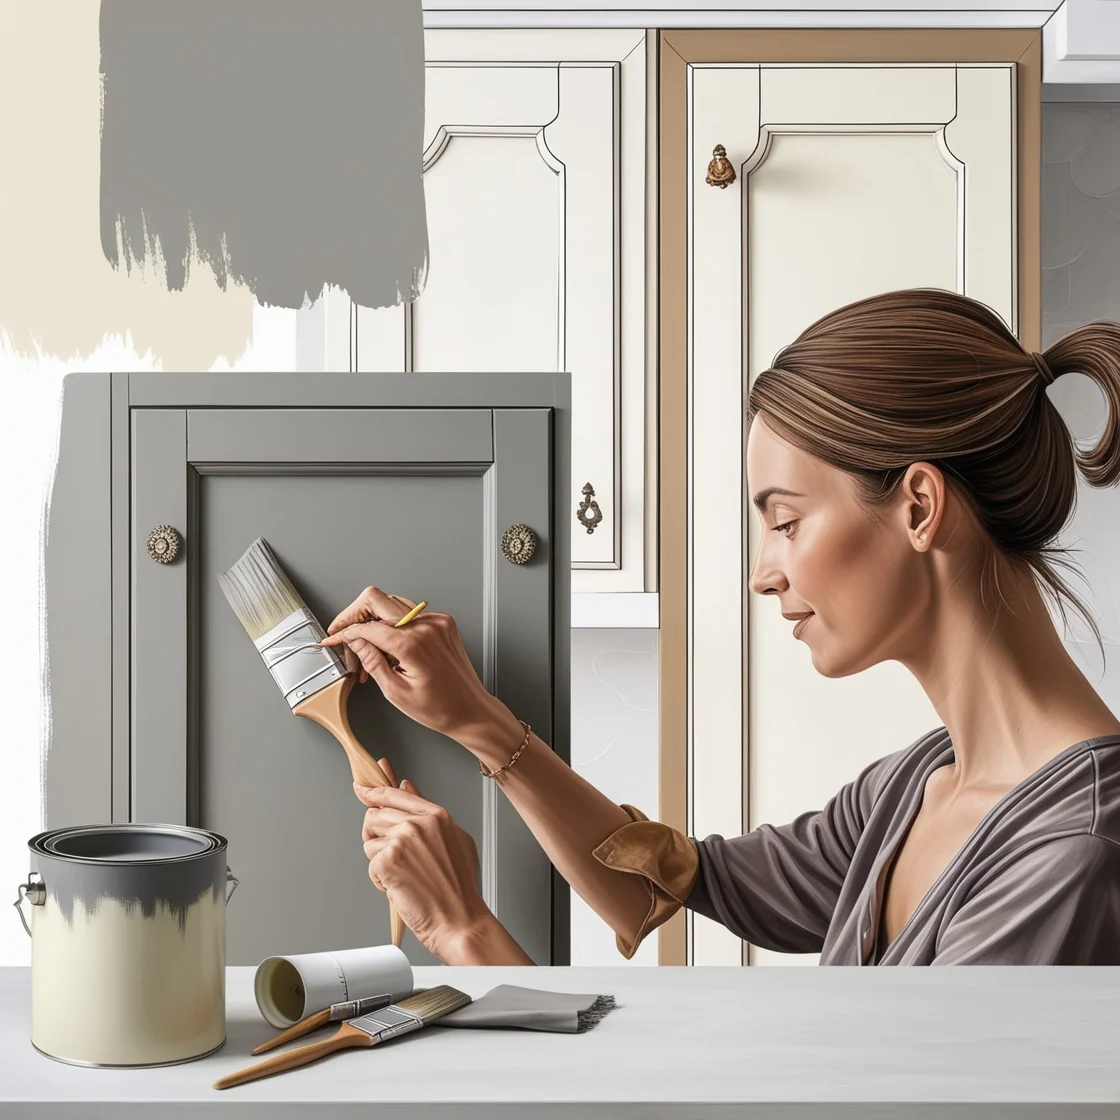
Step 4: Prime the Cabinets
Priming is essential to ensure that the paint adheres properly and provides a durable finish. Choose a primer suited to your cabinet material—whether it’s wood, laminate, or MDF (medium-density fiberboard). Stain-blocking primers are particularly helpful if you’re working with wood that tends to bleed through paint. Use a brush or roller to apply a thin, even coat of primer to all surfaces. Don’t forget the inside edges of doors and drawers. Let the primer dry fully, and if needed, lightly sand with 220-grit sandpaper before applying paint.
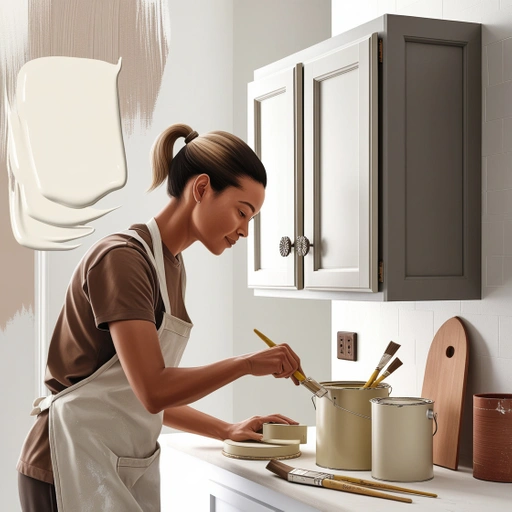
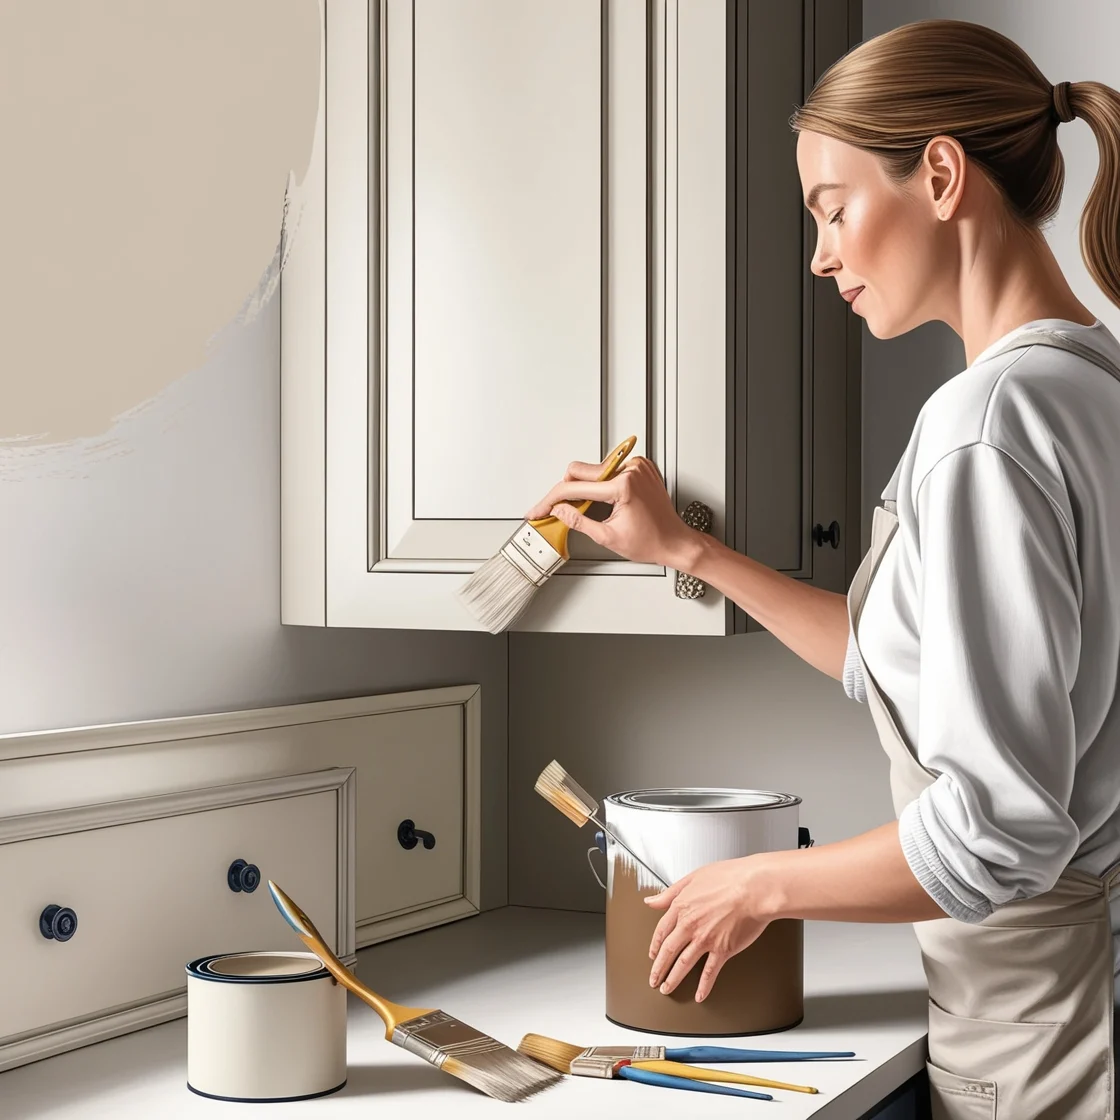
Step 5: How to Paint Kitchen Cabinet
Now that your cabinets are primed and smooth, it’s time to paint. Using high-quality paint will ensure a long-lasting finish. Semi-gloss, gloss, or satin finishes are recommended for cabinets because they are durable and easy to clean. You can choose between latex or oil-based paints, or even use specialized cabinet paint designed for kitchens.
Use a paintbrush for smaller areas, corners, and intricate details, and a foam roller for larger, flat surfaces. Apply thin, even coats to avoid drips and uneven textures. It’s better to apply two or three thin coats rather than one thick coat for a smooth, durable finish. Allow each coat to dry fully between applications.
Step 6: Reassemble the Cabinets
Once the final coat of paint is fully dry, it’s time to reassemble your kitchen. If you’ve opted for new hardware, this is the perfect moment to install it for an updated look. Carefully reattach the cabinet doors and drawers, taking care to ensure that everything is aligned properly. Referencing your earlier labels will make this process much smoother and more efficient.
After everything is back in place, it’s essential to let your cabinets cure for at least 24 hours. This allows the paint to harden completely, ensuring durability and a long-lasting finish. Once the wait is over, you can enjoy your beautifully transformed kitchen, complete with freshly painted cabinets that bring new life to your space!
Final Tips for Success – How to Paint Kitchen Cabinet
- Choose the right paint: Kitchen cabinets endure a lot of wear and tear, so pick paint that’s durable and easy to clean. Satin, semi-gloss, and gloss paints are all good options.
- Work in a well-ventilated area: Painting cabinets can release fumes, especially when working with primers and oil-based paints. Keep windows open and fans running if possible.
- Patience is key: Rushing through the drying process can lead to poor results. Allow sufficient drying time between coats and before reassembling the kitchen.
Conclusion
Painting kitchen cabinets can be a time-consuming task, but the results are well worth the effort. With the right preparation, attention to detail, and high-quality materials, you can transform your kitchen into a bright, updated space without the cost of a full renovation. Whether you’re going for a classic white or a bold new color, the steps outlined in this guide will help you achieve a professional-looking finish that enhances your kitchen’s aesthetic for years to come.
Here’s a table that outlines the steps for How to Paint Kitchen Cabinet
| Step | Description | Tips |
|---|---|---|
| 1. Prep the Kitchen | Remove items from cabinets, cover surfaces with drop cloths, and remove cabinet doors, drawers, and hardware. | Label doors/drawers for easy reassembly. |
| 2. Clean Cabinets | Clean all cabinet surfaces with a degreaser or TSP solution to remove grease and grime. | Rinse thoroughly with clean water and let dry. |
| 3. Sand the Surfaces | Lightly sand cabinets with 120-grit sandpaper to create texture for the primer to adhere. | Use a tack cloth to remove dust. |
| 4. Prime the Cabinets | Apply a thin, even coat of primer to all surfaces, ensuring proper adhesion and durability. | Sand lightly after priming if needed. |
| 5. Paint the Cabinets | Use high-quality paint in thin, even coats. Apply 2-3 coats, allowing full drying between coats. | Semi-gloss or satin finishes work best for cabinets. |
| 6. Reassemble | After the final coat is dry, reattach doors and drawers, and reinstall hardware. | Allow 24 hours for paint to fully cure. |
This table provides an easy overview of the process with key descriptions and tips for each step.
frequently asked questions (FAQs) about How to Paint Kitchen Cabinet
1. What type of paint is best for kitchen cabinets?
- Answer: For kitchen cabinets, it’s best to use a durable, washable paint that can withstand daily wear and tear. Semi-gloss, satin, or gloss finishes are ideal, as they provide a smooth surface that’s easy to clean. Latex and oil-based paints are both good options, though many prefer latex for its quick drying time and lower odor. Specialized cabinet paints designed for high-traffic areas are also available.
2. Do I need to sand my cabinets before painting?
- Answer: Yes, sanding is a critical step to ensure the paint adheres properly. Light sanding with 120-grit sandpaper is typically sufficient to roughen up the surface for primer. If your cabinets have an existing high-gloss finish, sanding is even more important. You don’t need to sand down to bare wood, but a light scuff will provide better adhesion for primer and paint.
3. How long does it take to paint kitchen cabinets?
- Answer: The entire process can take several days, depending on drying times between coats of primer and paint. Typically, you’ll need a full day for cleaning, sanding, and priming, and at least 1-2 days for painting (allowing for drying between coats). Factor in additional time for reassembly and curing (usually 24 hours before cabinets can be used again).
4. Do I need a primer, or can I paint directly onto the cabinets?
- Answer: Primer is highly recommended for a professional-looking, long-lasting finish. It helps the paint adhere to the cabinet surface, blocks stains, and ensures the paint’s true color shines through. Use a bonding or stain-blocking primer, especially if you’re painting over dark or glossy surfaces.
5. Can I paint over laminate cabinets?
- Answer: Yes, you can paint laminate cabinets, but they require extra preparation. Clean the surface thoroughly, sand lightly to scuff the surface, and use a high-quality bonding primer designed for slick surfaces. After priming, you can apply your paint as you would with wood cabinets.