How to Paint Kitchen Cabinets: The Best Step-by-Step Guide
Table of Contents
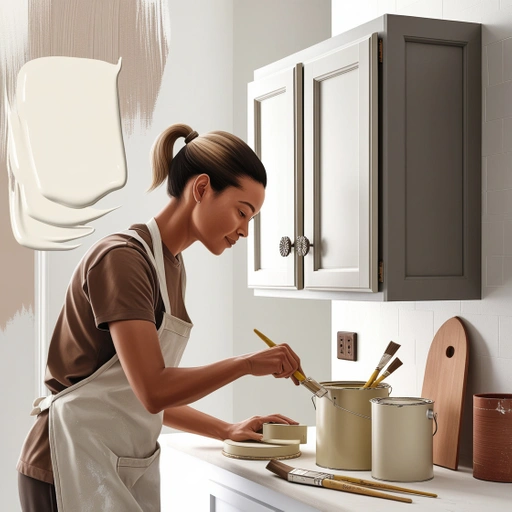
Paint Kitchen Cabinets is an affordable and rewarding way to give your kitchen a fresh, updated look without the expense of a full renovation. With the right preparation, tools, and techniques, you can transform your cabinets into a beautiful and durable finish that lasts for years. This guide will walk you through the entire process, from preparation to painting and finishing touches.
Step 1: Gather Your Materials and Tools
Before you start, you need to have the right materials and tools for the job. Here’s a list of what you’ll need:

Materials:
- High-quality paint (latex or oil-based, depending on preference)
- Primer (stain-blocking or bonding primer)
- Wood filler (if needed)
- Sandpaper (120- and 220-grit)
- Painter’s tape
- Drop cloths or plastic sheeting
- Cleaning solution (TSP or degreaser)
- Tack cloths
Tools:
- Screwdriver (for removing hardware and doors)
- Paintbrushes (angled and flat)
- Foam roller or paint sprayer
- Sanding block or power sander
- Paint tray
- Stir sticks
- Protective gear (gloves, mask, safety glasses)
Step 2: Prepare Your Cabinets
Proper preparation is key to achieving a professional-looking finish. Follow these steps:
Remove Cabinet Doors and Hardware
Start by removing all cabinet doors, drawers, and hardware. Label each piece with painter’s tape so you can easily reassemble them later. Store screws and small parts in a plastic bag to avoid losing them.
Clean the Surfaces
Kitchen cabinets accumulate grease, dirt, and grime over time. Use a degreaser or a solution of warm water and dish soap to clean all surfaces thoroughly. Let them dry completely before proceeding.
Repair Any Damage
Inspect the cabinets for dents, scratches, or holes. Use wood filler to repair any imperfections. Allow it to dry, then sand it smooth with fine-grit sandpaper.
Sand the Surfaces
Sanding is crucial for helping the primer and paint adhere properly. Use 120-grit sandpaper to roughen the surface, then wipe away dust with a tack cloth. If your cabinets have a glossy finish, lightly sand them with 220-grit sandpaper to create a matte surface for better adhesion.
Step 3: Apply Primer

Choose the Right Primer
A good primer will help the paint stick and prevent stains from seeping through. If your cabinets are dark or have heavy stains, use a stain-blocking primer.
Apply the Primer
Using a paintbrush or foam roller, apply a thin, even coat of primer to all cabinet surfaces, including doors and drawers. Allow the primer to dry completely according to the manufacturer’s instructions. Lightly sand the primed surface with 220-grit sandpaper to remove any brush marks or drips, then wipe away dust with a tack cloth.
Step 4: Paint the Cabinets
Choose the Right Paint
For kitchen cabinets, semi-gloss or satin finish paints are recommended, as they provide durability and are easy to clean. You can use either oil-based or latex paint, but latex is more popular due to its low odor and easy cleanup.
Apply the First Coat
Use a high-quality paintbrush or foam roller for a smooth finish. Apply thin, even coats, moving with the grain of the wood. Avoid heavy applications, as they can lead to drips and uneven coverage.
Let the Paint Dry and Sand Lightly
Allow the first coat to dry completely, following the paint manufacturer’s recommended drying time. Lightly sand the surface with 220-grit sandpaper to smooth out any imperfections, then wipe it down with a tack cloth.
Apply Additional Coats
Apply a second coat of paint using the same method. Depending on the color and type of paint, you may need a third coat for full coverage. Let each coat dry completely before applying the next.
Step 5: Add Decorative Finishes (Optional)
If you want to add more character to your cabinets, consider decorative painting techniques such as:
- Distressing: Lightly sand edges and corners for a rustic look.
- Glazing: Apply a tinted glaze for an antique effect.
- Two-tone painting: Use different colors on upper and lower cabinets for contrast.
Step 6: Reassemble and Finish
Reattach Hardware and Doors
Once the paint has fully cured, carefully reattach the hardware and reinstall the doors and drawers. If you want a more modern look, consider updating the hardware with new handles or knobs.
Apply a Protective Topcoat (Optional)
For added durability, especially in high-traffic kitchens, apply a clear polyurethane topcoat. Choose a water-based polyurethane for a non-yellowing finish. Apply it with a clean brush or sprayer, and let it dry completely.
Final Touches
Inspect your cabinets for any touch-ups needed. Clean up your workspace, remove painter’s tape, and enjoy your freshly painted cabinets!
Step 7: Maintain Your Painted Cabinets
To keep your cabinets looking fresh and new:
- Clean spills and stains immediately with a damp cloth.
- Avoid using harsh chemical cleaners that can damage the paint.
- Use cabinet bumpers to prevent doors from slamming and chipping the paint.
- Regularly dust and wipe down cabinets to maintain their shine.
Tips for a Professional Finish
- Work in a well-ventilated area to avoid inhaling fumes.
- Use a high-quality brush or roller to minimize brush strokes.
- Avoid painting in humid conditions to ensure proper drying.
- Allow ample drying time between coats to prevent tacky finishes.
- Practice patience—rushing can lead to uneven paint and poor results.
Here’s a table outlining the step-by-step guide for painting kitchen cabinets:
| Step | Task | Details |
|---|---|---|
| 1 | Prepare the Area | Remove all items from cabinets, cover floors and countertops with a drop cloth. |
| 2 | Remove Cabinet Doors & Hardware | Take off cabinet doors, drawers, and handles for easier painting. Label them for reinstallation. |
| 3 | Clean the Surfaces | Use a degreaser or mild soap and water to remove grease and dirt from cabinets. |
| 4 | Sand the Cabinets | Lightly sand surfaces to help the paint adhere better. Wipe off dust with a damp cloth. |
| 5 | Apply Primer | Use a good-quality primer to ensure a smooth, long-lasting finish. Let it dry completely. |
| 6 | Sand Again (Optional) | Lightly sand the primed surface to remove brush strokes or uneven spots. Clean off dust. |
| 7 | Apply Paint | Use a brush, roller, or sprayer to apply thin, even coats of paint. Allow drying between coats. |
| 8 | Apply a Second Coat | For a professional finish, apply a second coat of paint and let it dry thoroughly. |
| 9 | Reattach Hardware & Doors | Once the paint is fully cured, reinstall doors, drawers, and handles. |
| 10 | Final Touches & Clean Up | Inspect for touch-ups, clean up the area, and enjoy your freshly painted cabinets! |
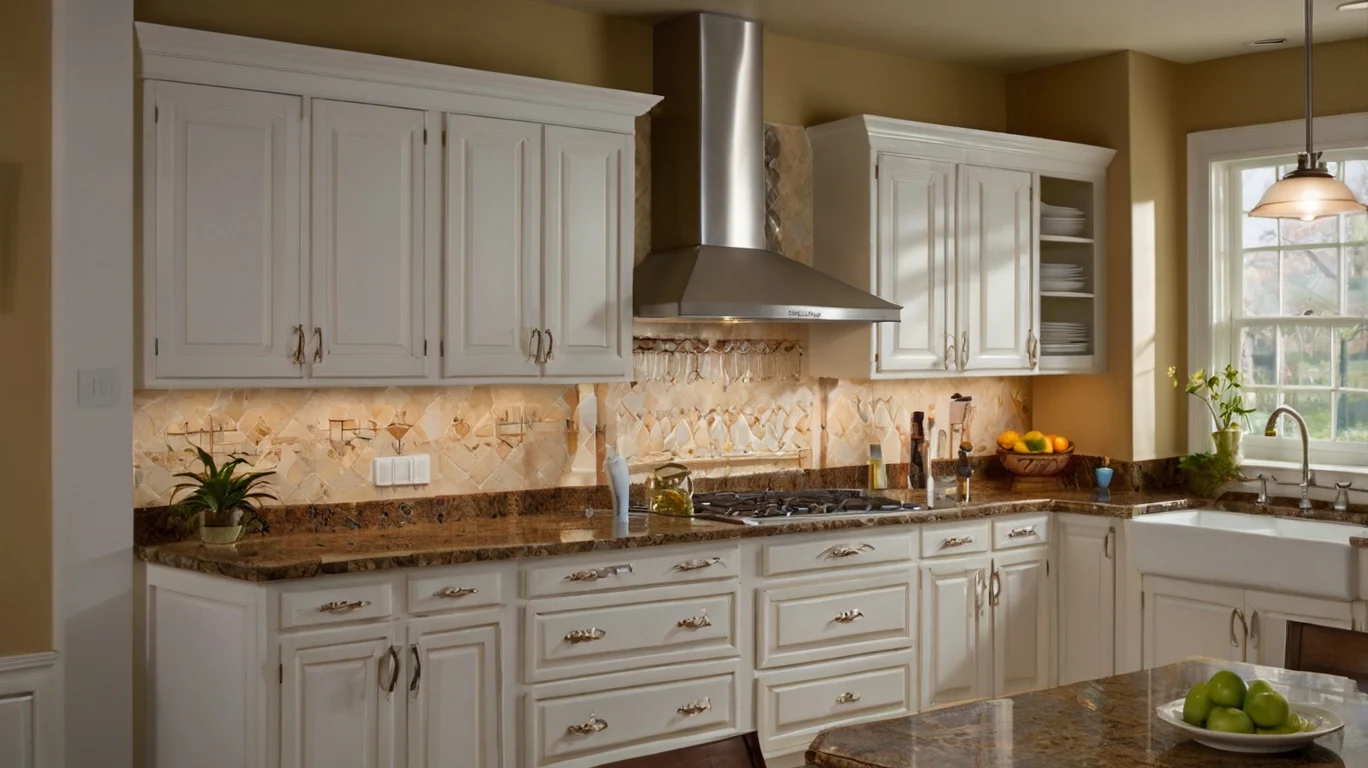
Conclusion
Painting kitchen cabinets is a cost-effective way to transform your kitchen without the expense of a complete remodel. By following these steps carefully and using high-quality materials, you can achieve a professional-looking finish that enhances your kitchen’s aesthetic and value. With the right approach, your newly painted cabinets will look stunning and last for years to come.
Here are some FAQs:
1. How long does it take to paint kitchen cabinets?
The entire process, including drying time, can take 4-7 days, depending on the number of coats and environmental conditions.
2. Do I need to sand cabinets before painting?
Yes, sanding helps remove the glossy finish and allows the primer and paint to adhere better.
3. What type of paint is best for kitchen cabinets?
Semi-gloss or satin finish paints are ideal because they are durable and easy to clean.
4. Can I paint cabinets without removing the doors?
While it’s possible, removing doors and hardware ensures a more professional finish with fewer drips and missed spots.
5. How do I prevent brush strokes when painting cabinets?
Use a high-quality brush or foam roller and apply thin, even coats. Light sanding between coats also helps smooth the finish.
6. Do I need a topcoat after painting cabinets?
A topcoat isn’t always necessary, but it can add durability and protect the paint from wear and tear.
7. How do I maintain painted cabinets?
Clean with a mild soap solution, avoid harsh chemicals, and use soft cloths to prevent scratches.